Using the Site Editor with Polylang Pro
🎯 Objective: Learn how to translate content directly via the Site editor with Polylang Pro.
What Is the Site Editor and How to Access it
The Site editor allows you to design your entire site using blocks and patterns, including the header, footer, and everything in between. The interface provides greater control over your site’s appearance and functionality in one single place.
🌎 Polylang Pro can translate any patterns or blocks from the Site editor. However, it cannot translate the templates themselves.
| 💡Important note about template translation: If a template part has no translation and none is created, the original version will be used for all other languages. In this case, a message will inform the user that the edited template part exists only in one language and will be displayed across all languages. |
Go to Appearance > Editor from your WordPress admin to open the WordPress Site editor. From there, you can easily access the navigation, the pages, the templates, and the patterns.
| 💡Important: This tutorial is for translating content from the Site editor only. If you don’t see the Site editor interface on your WordPress admin, you may not be using a Block theme. In that case, browse our generic documentation. |
How to Translate a Page or a Post Via the Site Editor Using Polylang
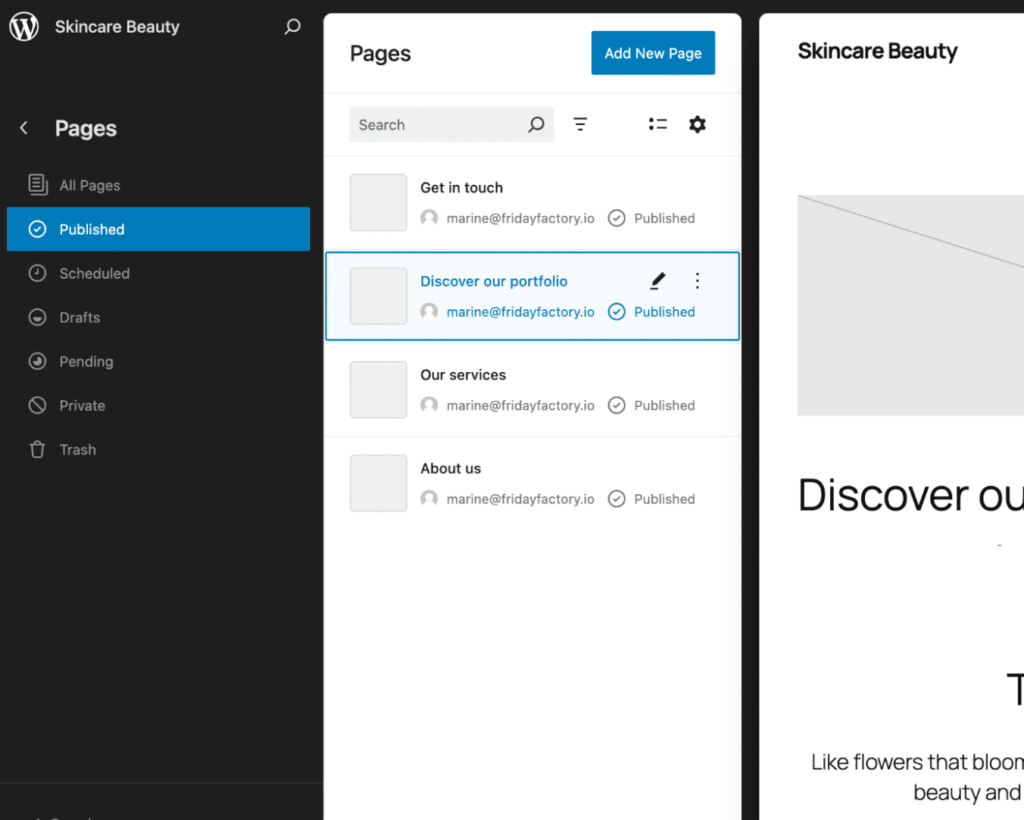
All your existing pages and posts can be translated from the Site editor interface.
1. Go to Appearance > Editor > Pages and open the page that needs translation.
2. Open the Polylang language metabox and click on the “+” button to add the translation.
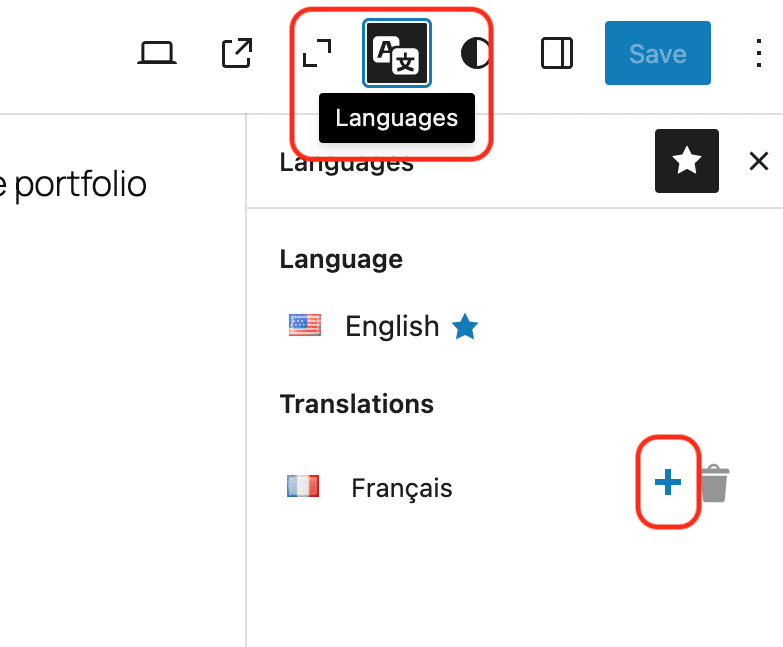
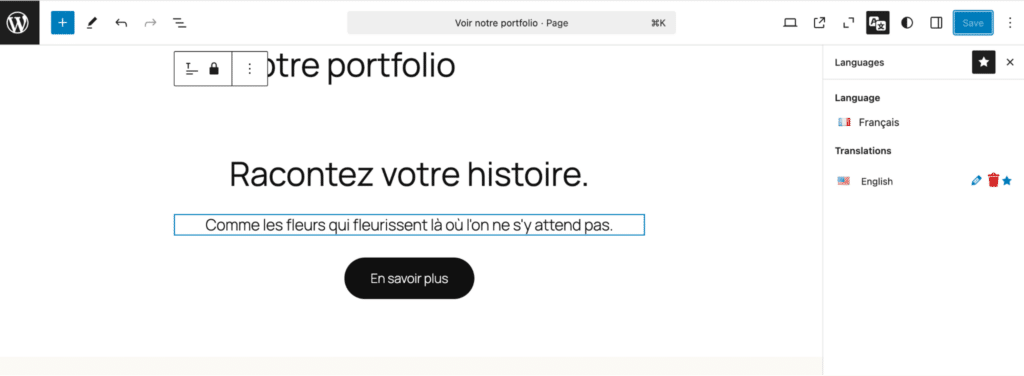
3. Edit the content and add the translation. Click on the Save button.
How to Translate the Navigation Menu via the Site Editor Using Polylang
WordPress provides a centralized menu management system via the Site editor. You can view, manage, and translate all menus in one place.
| 💡Note: Ensure that each menu item is correctly translated into your other languages from the list of Posts, Pages, Categories, etc. Example: The “About Us” page should be first translated into French in the Pages list as “À propos de nous.” |
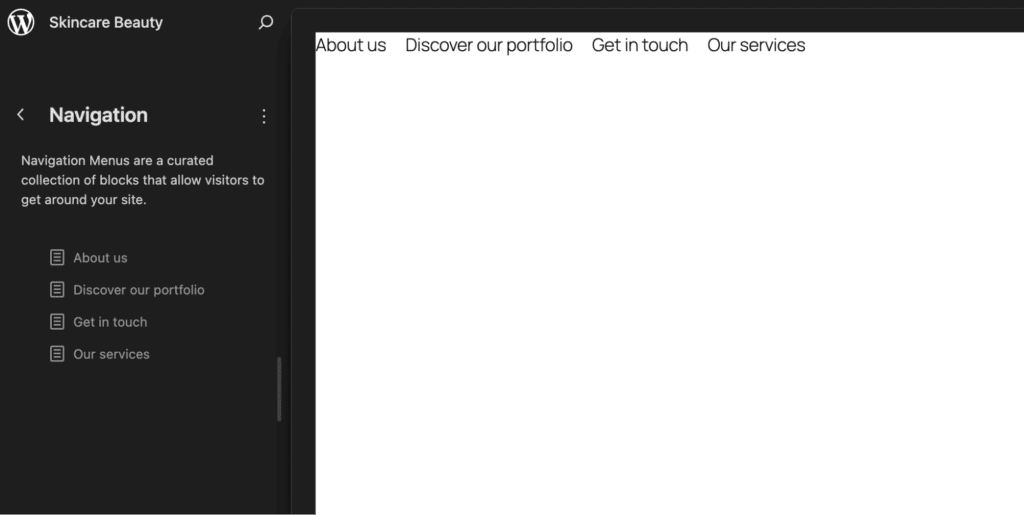
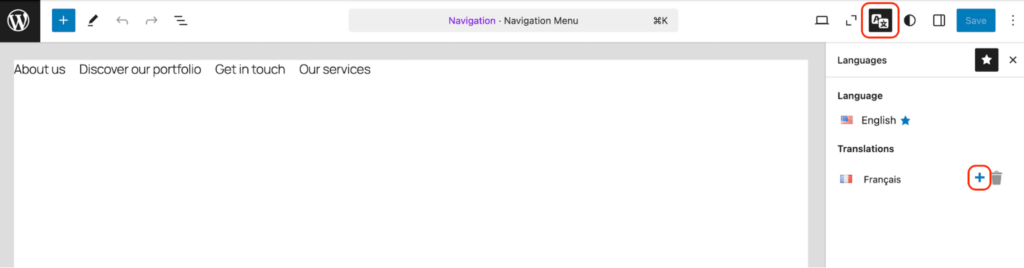
- Go to Appearance > Editor > Navigation.
- Select the menu you want to translate and edit it from the editor.
- Open the Polylang language metabox and click the “+” button to translate the menu.
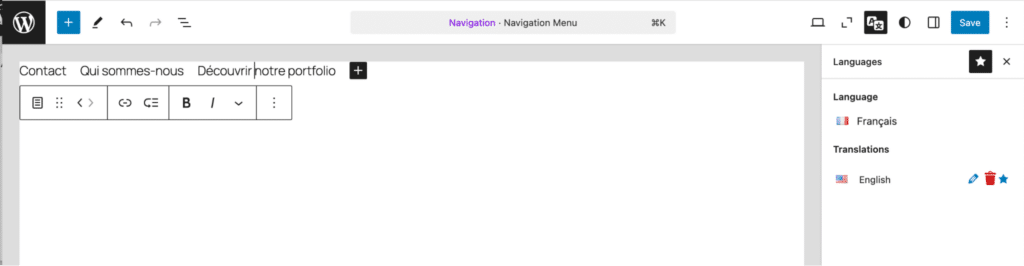
You can now translate each item directly from the editor. In our example, we translate it into French. Then, click the Save button to save the translation.
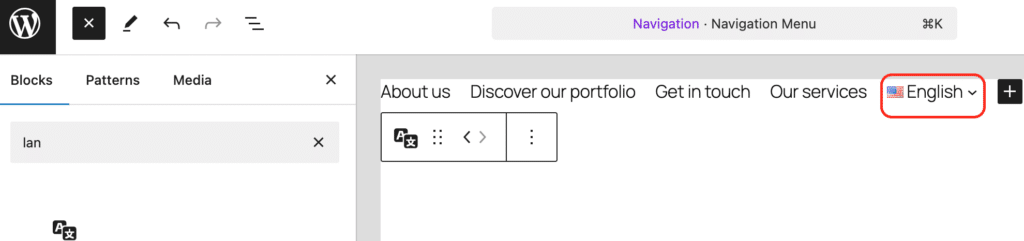
How to Add a Language Switcher to the Navigation Menu via the Site Editor Using Polylang
Polylang makes it easy to add a language switcher to your menu using the Site editor with a dedicated block. Follow these steps:
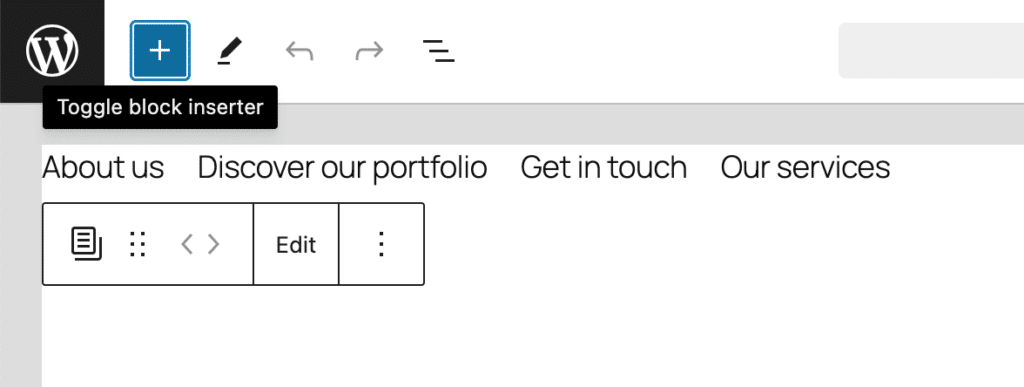
- Navigate to your WordPress Site editor via Appearance > Editor > Navigation.
- Click the + button to insert a new block.
- Search for “Language Switcher” in the block options.
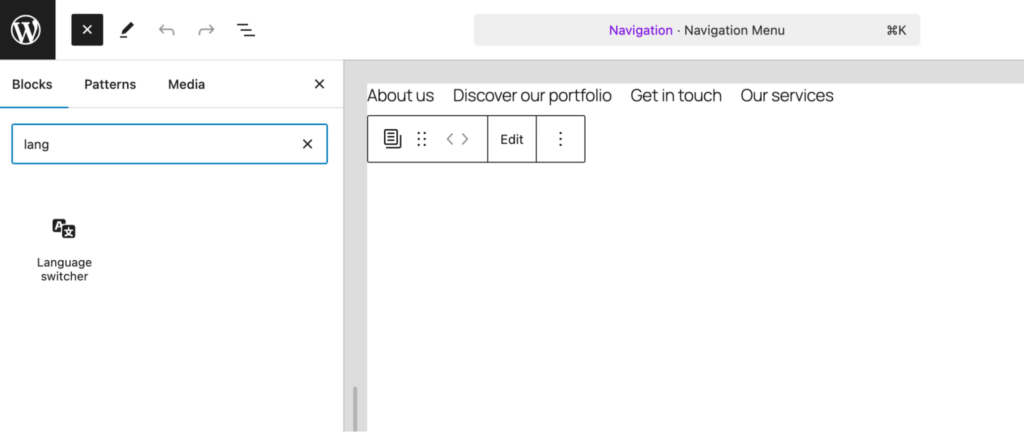
- Drag and drop the block where you want it to appear in your menu.
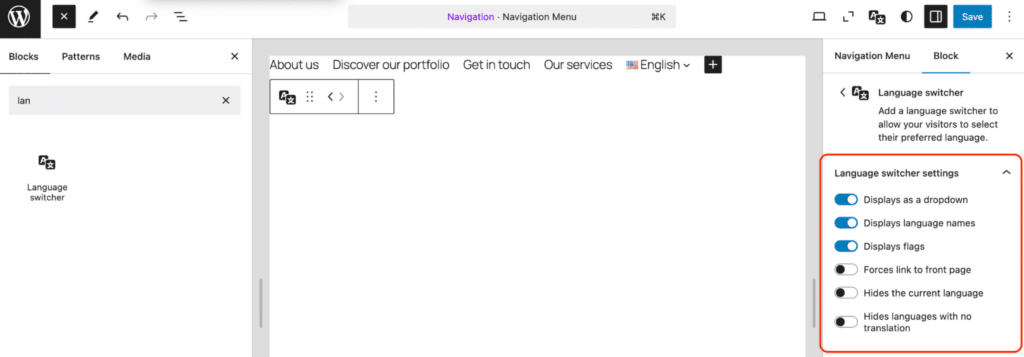
- You can adjust the options in the right sidebar, such as displaying flags, using a dropdown menu, or showing language names.
How to Translate WordPress Template Parts and Patterns via the Site Editor Using Polylang
Two types of WordPress Patterns can be translatable with Polylang:
- Template Parts (wp_template_part) are layout pieces that can be reused across multiple areas of your site. The site header and footer are common template parts.
- Patterns (wp_block), previously known as reusable blocks, can be saved and reused easily on any page.
Translating Template Parts with Polylang
Template parts can be found in the Patterns section of your Site Editor.
- Go to Appearance > Editor > Patterns > Template Parts
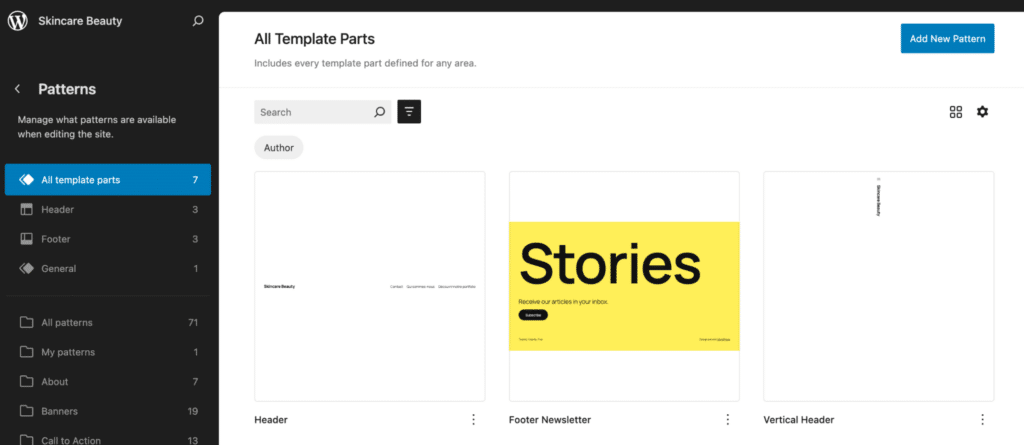
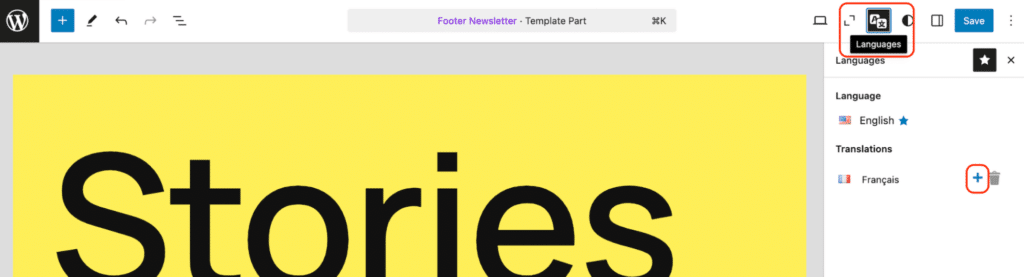
- Select the template part that needs translation. In our case, we are using the Footer Newsletter template part.
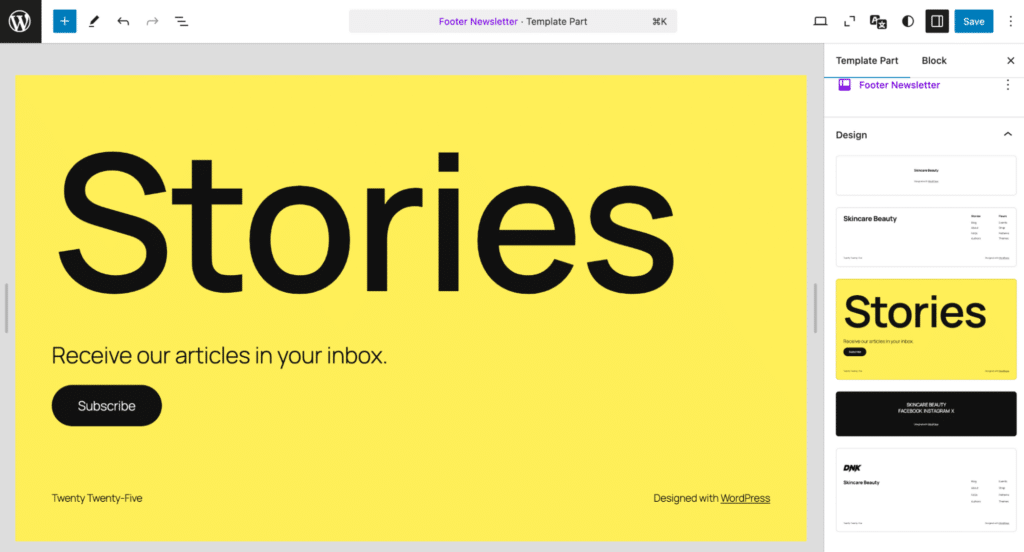
- In the right sidebar, open the Polylang Language meta box and click the “+” button to add the translation.
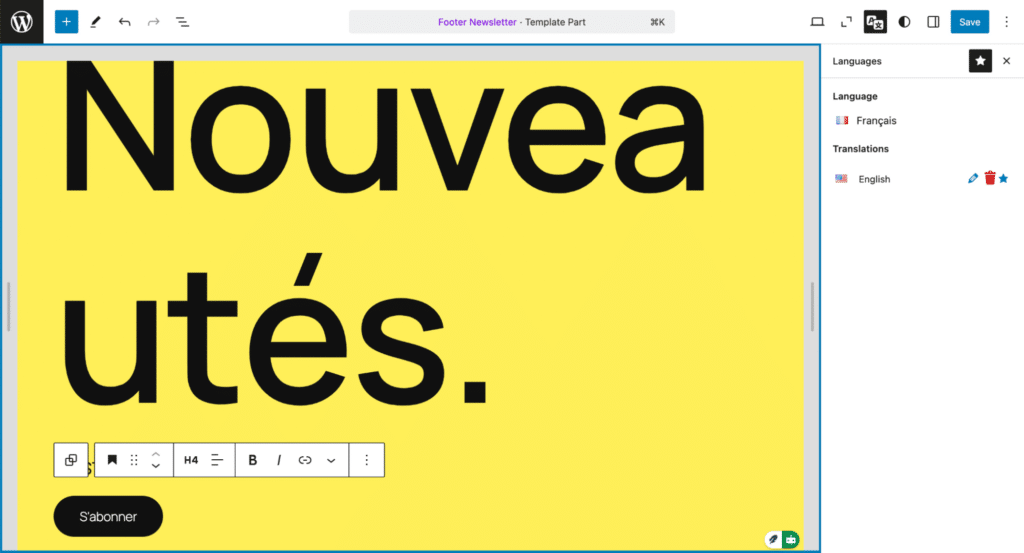
- Replace the existing content with the translation and click on the Save button.
Translating Patterns with Polylang
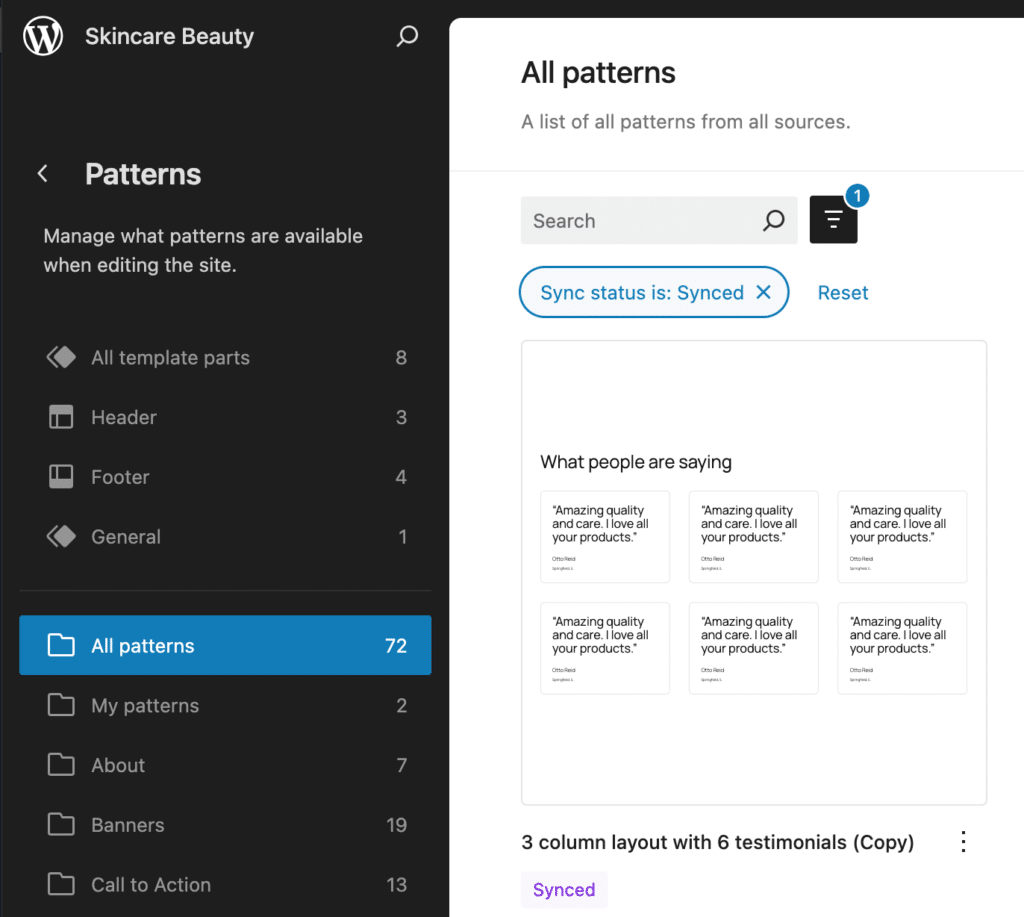
- Navigate to Appearance > Editor > Patterns > All Patterns. For our tutorial, we chose a testimonial pattern:
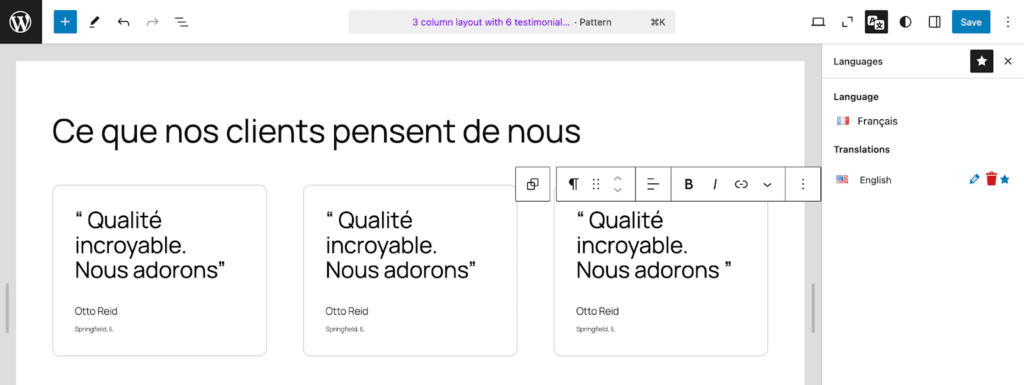
- In the right sidebar, open the Polylang Language meta box and click the “+” button to add the translation.
- Replace the content with the translation directly in the editor and click Save.
Editing and Deleting Content with Polylang
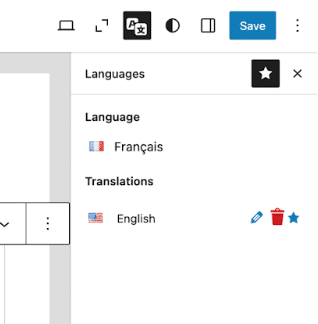
To edit translations, click the pencil ✏️icon in the language metabox.
To delete translations, click the trash 🗑️ icon in the language metabox.
The blue star indicates what is the primary language.
| 💡Good to know: If you delete a pattern, a Template Part, or a navigation menu in the default language, it will also be removed from all other languages. The default language is marked with a small blue star for easy identification. |