How to make the navigation multilingual with the Site Editor
Polylang Pro
🎯 Objective: Learn how to translate the navigation menu from the Site Editor with Polylang Pro.
What you need
- A block theme using the Site Editor.
- Polylang Pro version 3.8 or later, available from your client account.
How to create a multilingual navigation with Polylang Pro
- Translate your pages or posts first. You can always update content later, but it’s easier if you start with translated content already in place.
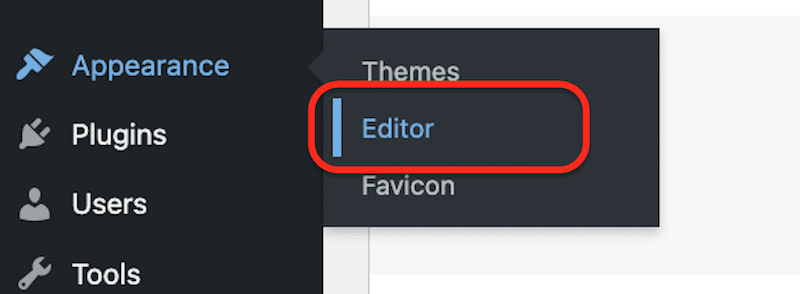
2. To open the Navigation section, open the Site Editor from Appearance > Editor.
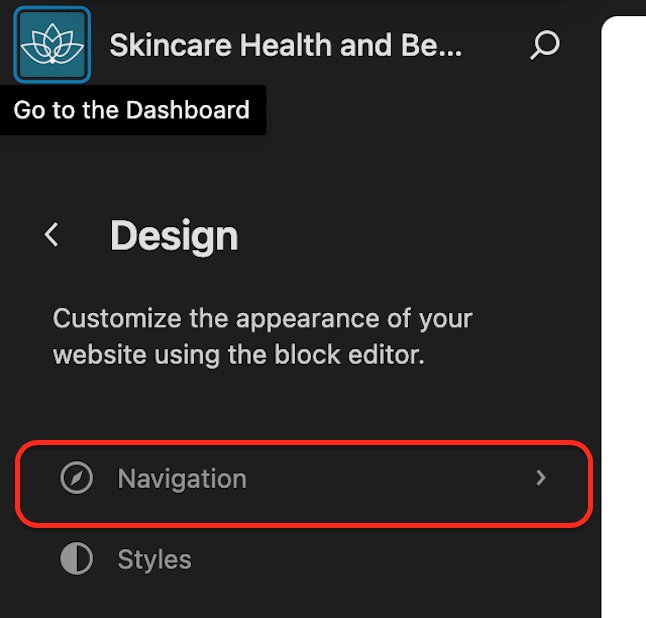
3. Click on the Navigation section.
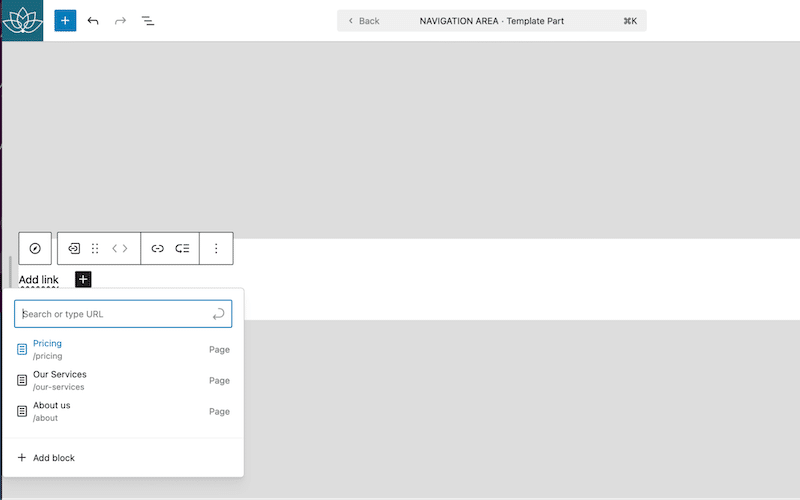
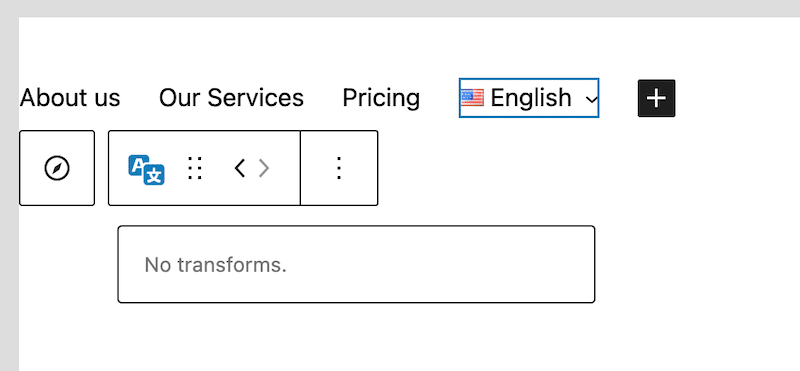
4. Create a Template part and insert your Navigation. Then add the pages of your site in the original language inside.
For example, we have “Pricing, Our Services and About us”.
| 💡 Hint: Make sure you insert your template part in a template; otherwise, it won’t be translated on the frontend. |
5. Save your new menu. Your navigation section should now look like this:

6. On the right-hand side of the screen, open the Language metabox and click on the + button.
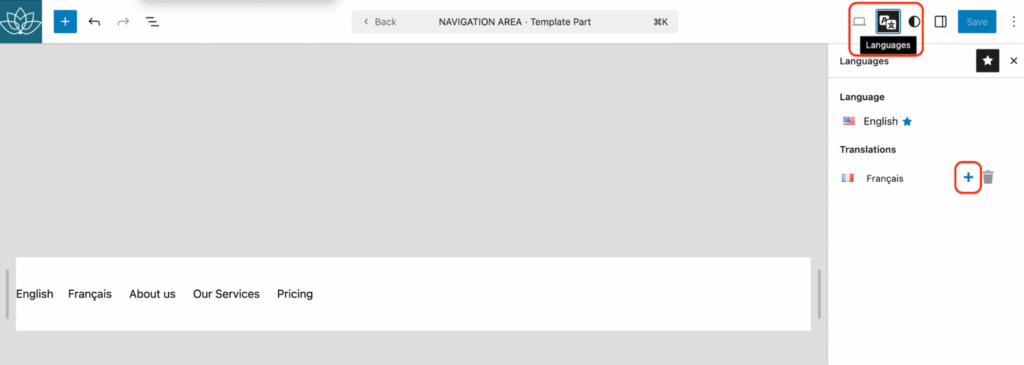
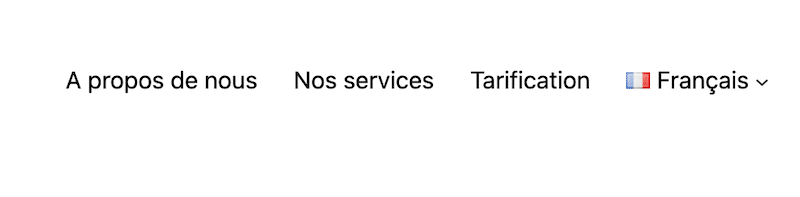
7. Click on the + button, and the navigation is automatically duplicated into the target language.
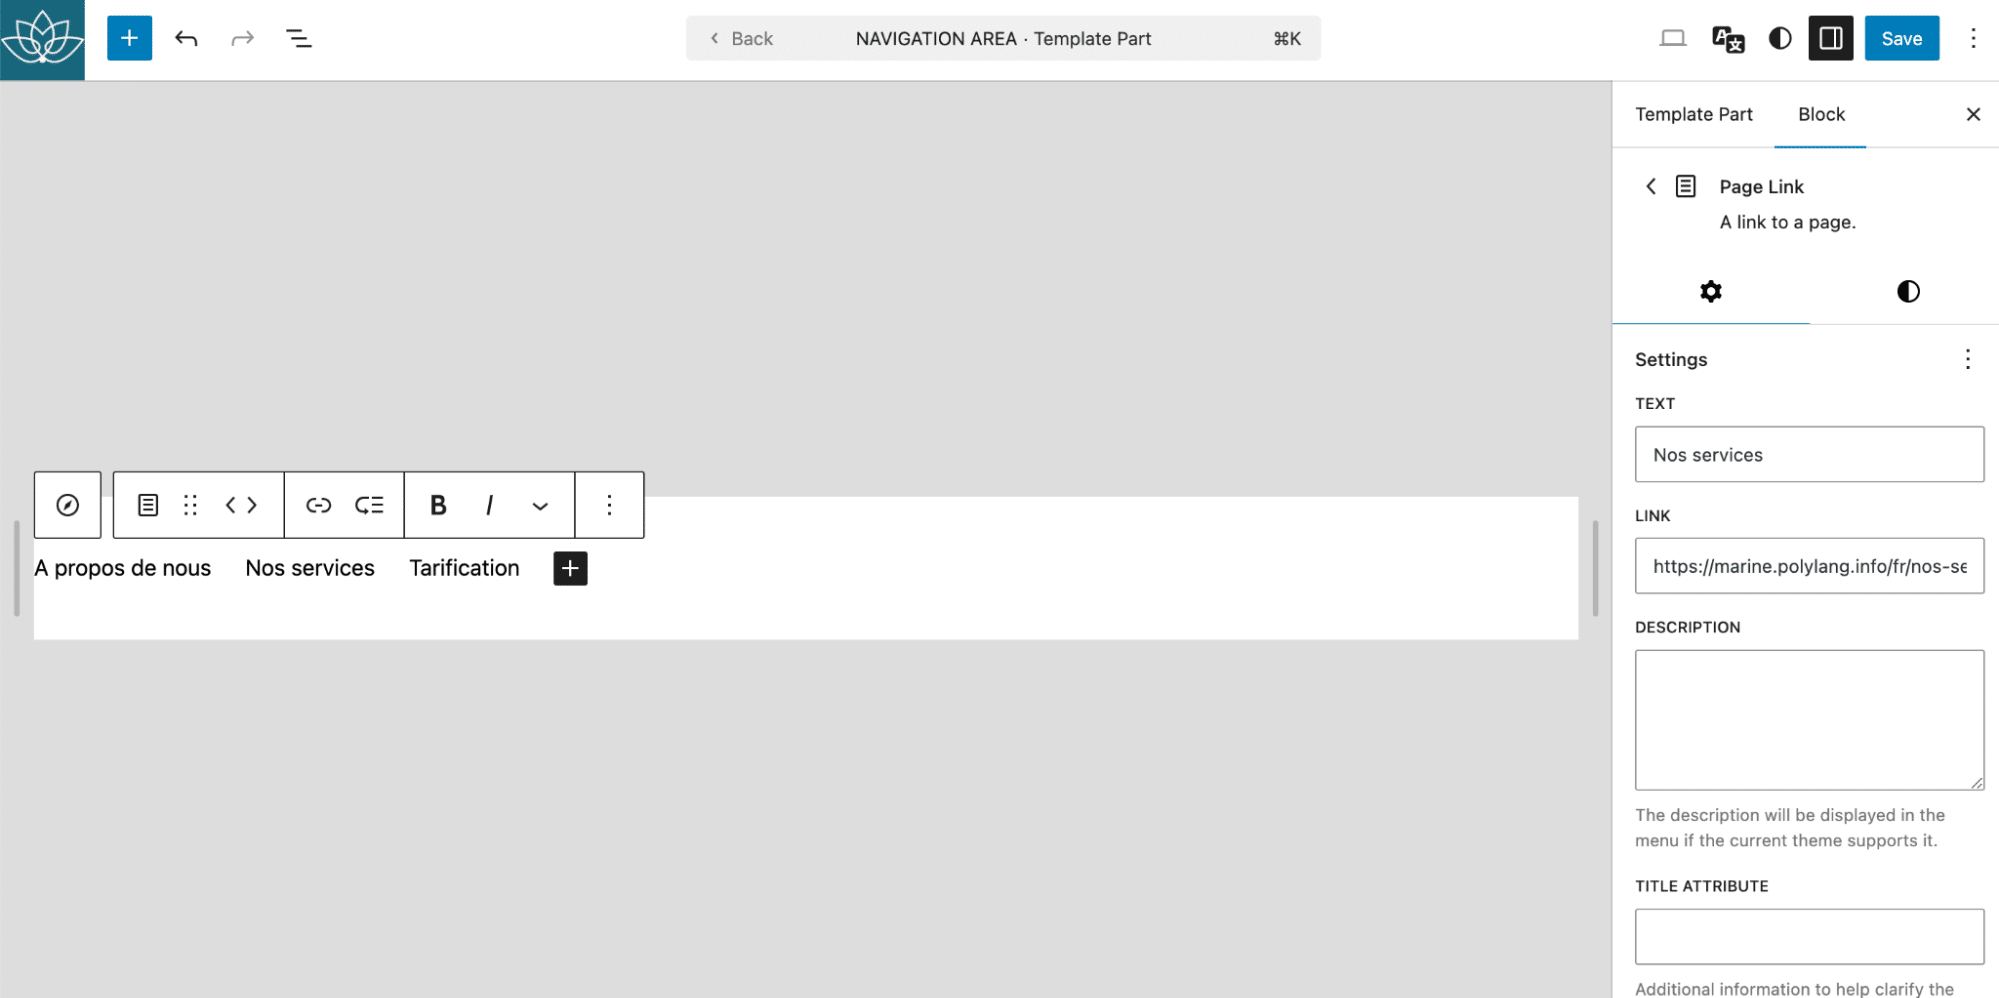
Now you can edit each menu item in the correct language. Example: Our services → Nos services
8. That’s it. Both navigation menus are now translated.
| Navigation menu in original language (EN) |  |
| Navigation menu translated into the secondary language (FR) |
How to add the navigation language switcher
The language switcher enables visitors to switch between the site’s different languages directly from the navigation menu. With Polylang Pro, you can add a dedicated block to manage this feature in each language’s navigation. You can also have a different design per language.
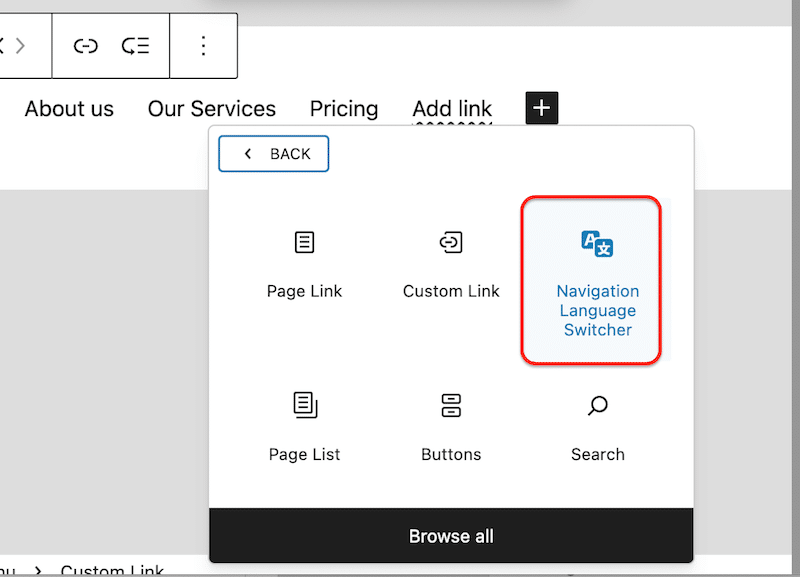
| 💡 Hint: There are two language switcher blocks available. For multilingual navigation, always use the Navigation Language Switcher. Navigation Language Switcher → for menus built inside the Navigation. Language Switcher → acts more like a widget. |
- Add a new block called “Navigation Language Switcher block” inside the navigation of your original language (e.g. English).
2. You now have a language switcher in your navigation menu in English.
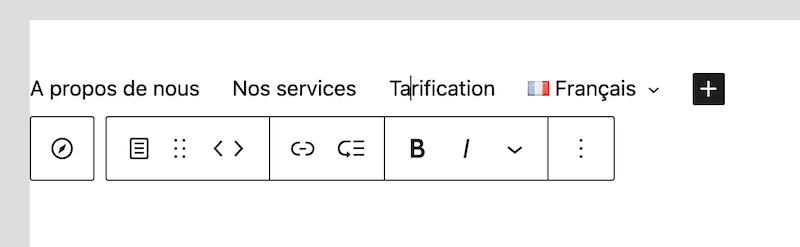
3. Open the language metabox and click on the pencil button to edit your menu in the target language (French).

4. Repeat the action and add the navigation language switcher block to the navigation.

5. The navigation language block is now added to the English and French menus.
| Navigation language switcher block EN | Navigation language switcher block FR |
 |  |
How to edit the navigation menu
When editing a navigation menu, changes must be made individually for each language. This approach ensures full control over the content and structure of your navigation in every language.
- Go to each language’s navigation from the Site Editor and open the language metabox.
- Click the pencil button to start editing the navigation menu.
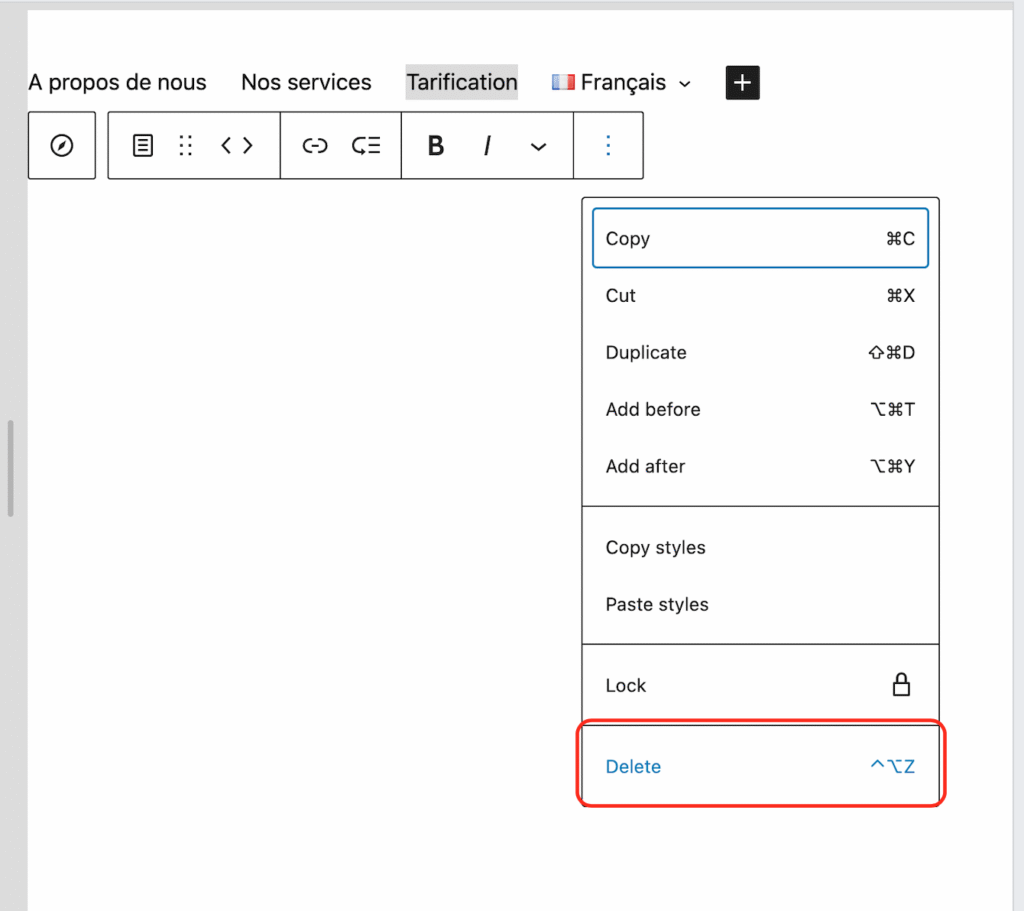
How to delete a page from the multilingual navigation menu
When deleting items from a navigation menu, the changes are not synchronized across languages. If you remove a page or link in one language, you must also delete it manually from the menus in the other languages.
This approach ensures full control over the content and structure of your navigation, allowing you to keep a page in one language (e.g., English) while omitting it in another (e.g., French).
Example: If you delete “Pricing” from the English navigation, the French “Tarification” will still be there.
To remove it, you’ll need to delete the corresponding menu item manually in each language from Site Editor > Navigation.