Managing the License Keys
Polylang Pro
Polylang for WooCommerce
Polylang Business Pack
🎯 Objective: Learn how to manage license keys and renew your subscription easily.
Here’s what happens when you purchase Polylang Pro, Polylang for WooCommerce, or the Polylang Business Pack:
- A license key is automatically generated.
- An account is created for you using the email address provided during checkout.
- You’ll need to activate this key on your site(s) to receive updates, new features, improvements, and security patches.
- The license key is valid for one year and must be renewed annually (at half price from the standard rate).
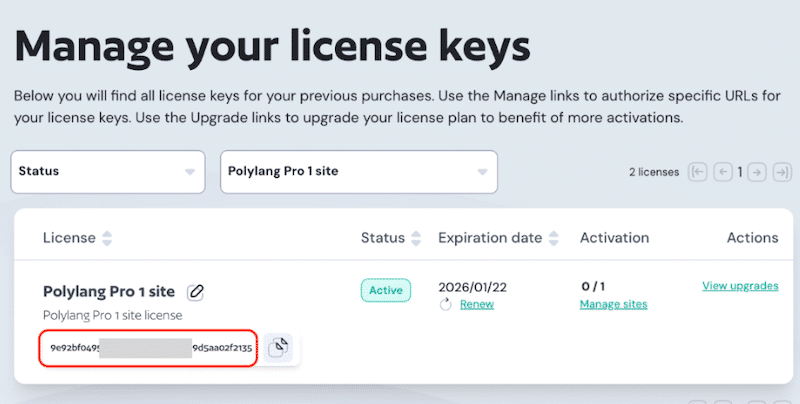
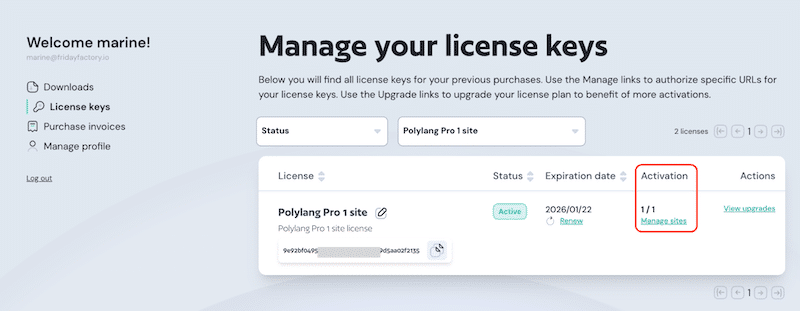
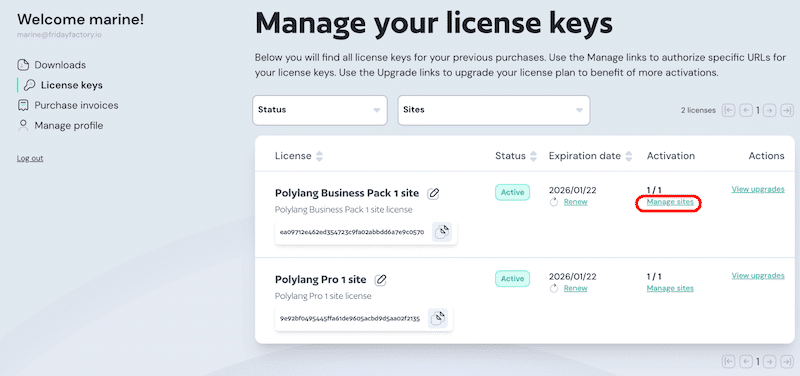
Where to Find the License Keys
- Sign in to your Polylang Account.
- Open the License keys submenu on the left sidebar.

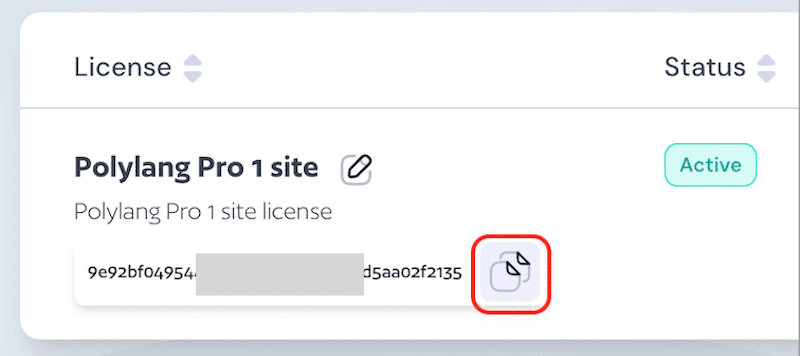
- In the first License column, you will find your license key. There is a convenient copy icon next to it for easy copying.
How to Activate the License Keys
You can activate the license keys using three methods: from your account, through Polylang’s installation wizard, or via Polylang’s settings panel in WordPress.
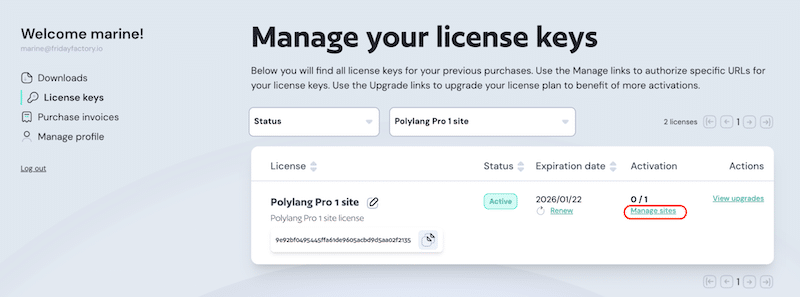
Activating the License Key From Your Account
- Sign in to your Polylang Account and navigate to the License keys section in the left sidebar.
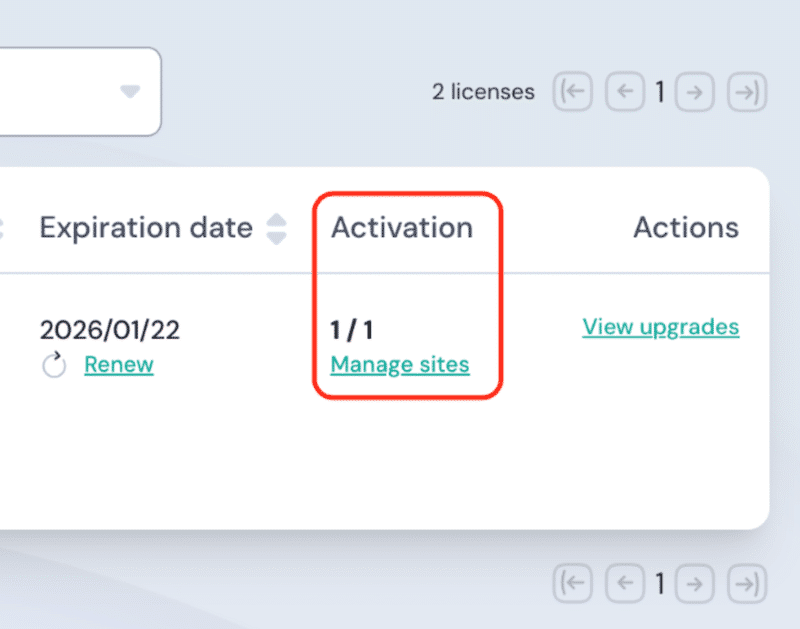
- In the Expiration date column, click Manage sites under the 0/1 row (indicating no site is registered yet).
- Add your website’s URL.
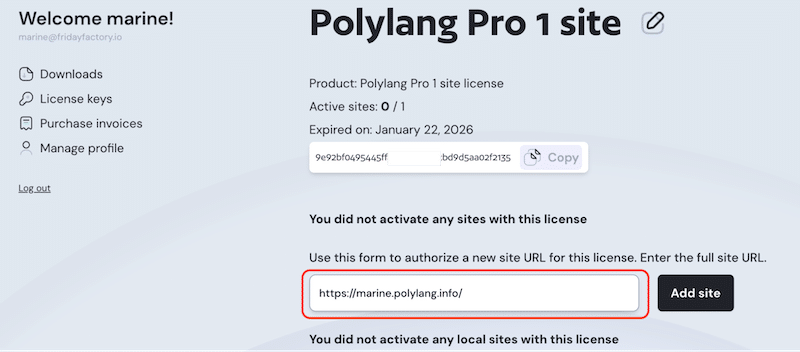
- Click Add Site.
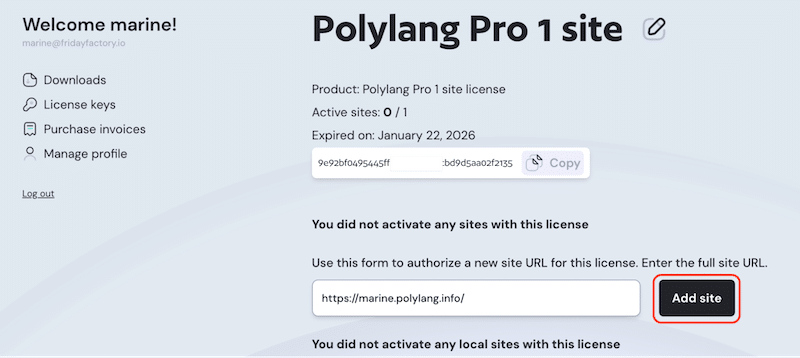
- Your site is now registered, and the license key has been activated. You can notice the new “1/1” indicator in the Activation column, which reflects the number of sites activated with your license. This visual indicator helps you track how many sites are using your license.
| 📝 Important note if you have a 3-sites license (or more): If you activate your license on one site, the indicator will show “1/3”. If you activate it on two sites, it will show “2/3”. And when all three sites are activated, it will show “3/3”. |
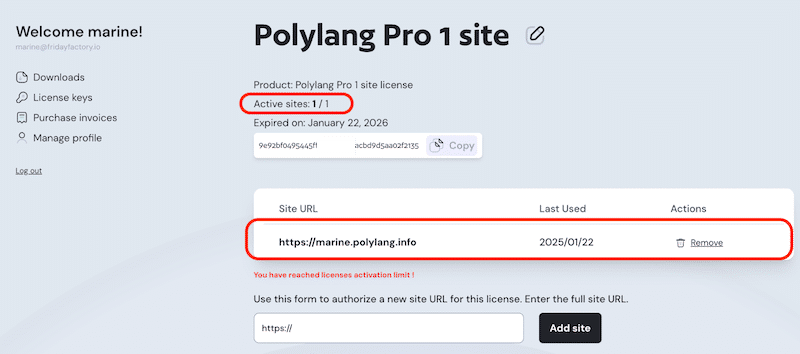
- You can verify the activation by clicking on the Manage sites button.
Verification: The website is successfully registered with Polylang, and the license key is active and functioning correctly.
Activating the License Key From Polylang’s Installation Wizard (WordPress Admin)
- Copy your license key from your Polylang account.
- In your WordPress admin, paste the license key in the dedicated field during Step 1 of Polylang’s installation wizard.
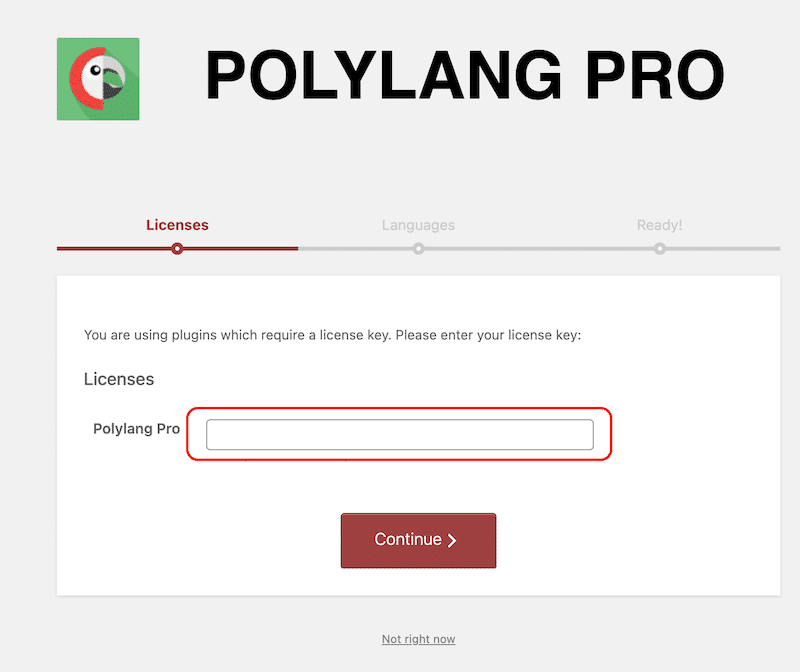
- That’s it. Now, you can complete the rest of the installation steps.
Activating the License Key From Polylang’s Settings (WordPress Admin)
- Copy your license key from your Polylang Account.
- Go to Languages > Settings in your WordPress admin and scroll down to the License keys module.

- From the License Keys module, click Settings.

- Paste your license key in the designated field.
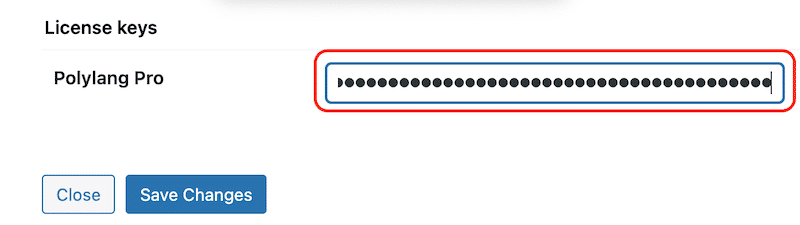
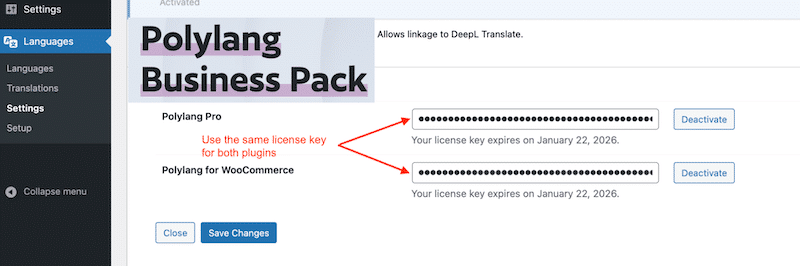
- If you are using Polylang Business Pack, put the same license key in both fields. Your license key can be copy pasted from your account in the License keys section in the Polylang Business Pack row.
- Click Save Changes.
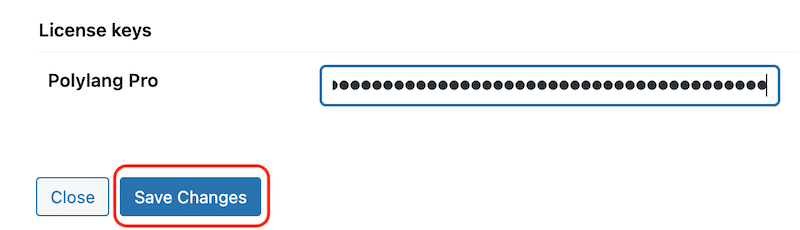
- The license key is now activated.
How to Renew Your License Key
You must manually renew your license each year to maintain access to updates, security patches, and new features that keep your site running smoothly. We send you reminder emails 30 days and 7 days before the expiration date.
- Sign in to your Polylang Account.
- In the left sidebar, click on the License keys section.
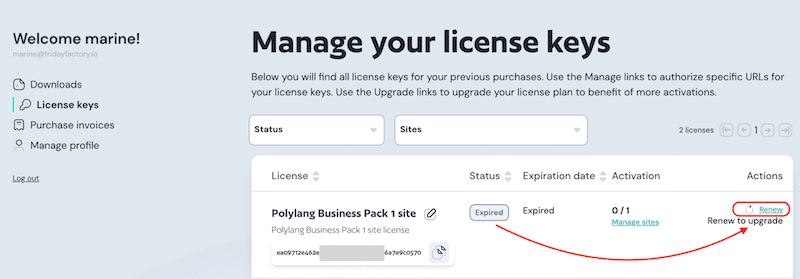
- From the Status column, verify whether your license has expired.
- If your license has expired, locate the Actions column and click Renew.

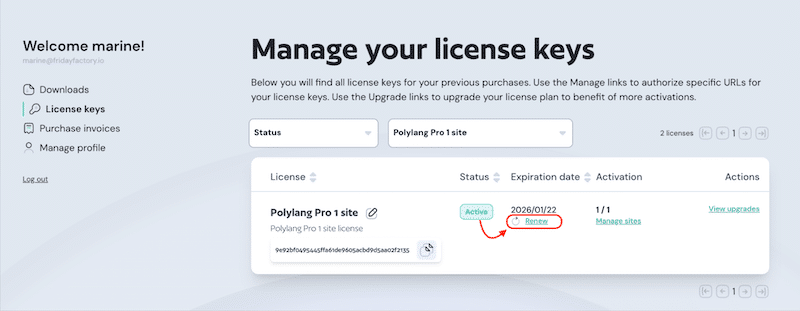
- If your license has not expired and is still active, manually renew it by clicking the Renew button in the Expiration date column.
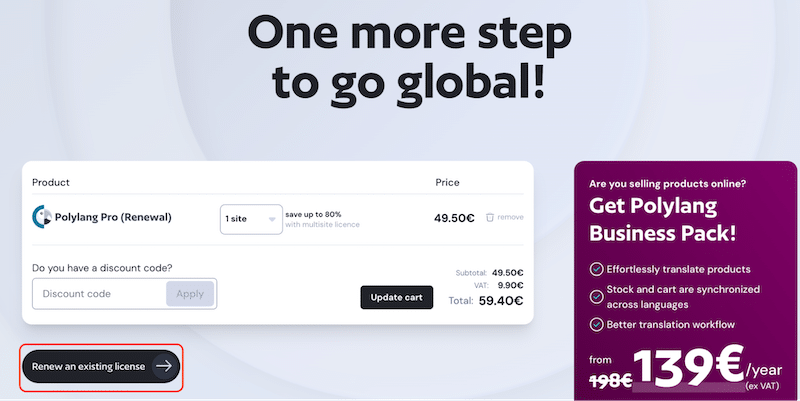
- Click on the Renew an existing license button.
| 📝 Important note: Once the license is renewed, there is no need to reconnect your site URL with the license key manually. |
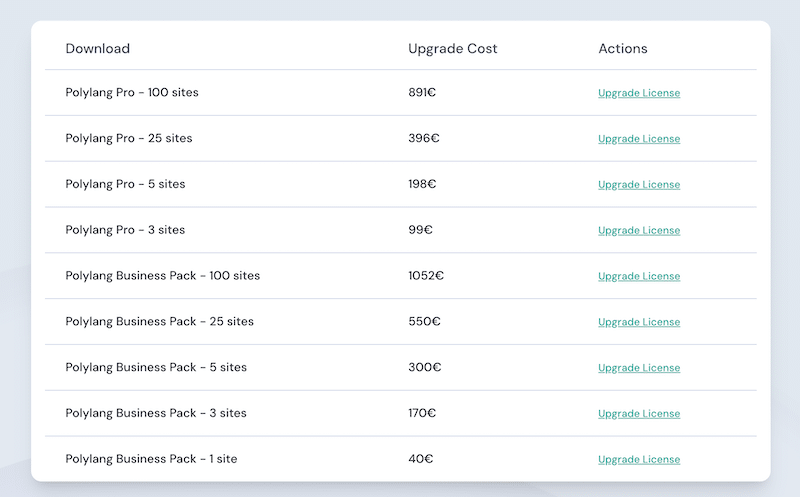
How to Upgrade Your License Key
| 📝 Important note: Upgrading a license key does not extend its expiration time. Upgrades and renewals are separate, and the order matters: it is usually cheaper to renew first and upgrade after. If you’re unsure about the process, feel free to contact us for assistance. |
You can upgrade your Polylang license to register more sites under your existing license or to get the Polylang Business Pack.
- Sign in to your Polylang Account.
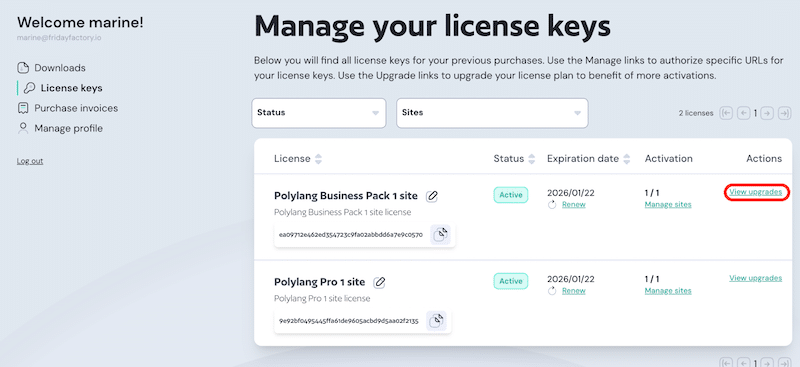
- From the left sidebar, navigate to the License keys section.
- In the Actions column, click on View upgrades.
- Select the upgrade that meets your needs, such as adding more site registrations or purchasing another add-on, and click on the Upgrade License button.
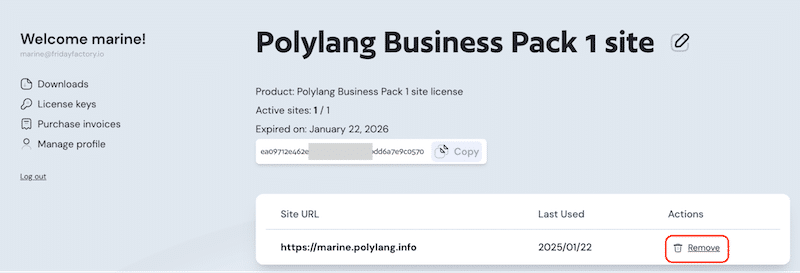
How to Delete a Site and Unlink License Keys
- Sign in to your Polylang Account and navigate to the License keys section.

- Choose the license for which you want to remove a site, and in the Activation column, click on Manage sites.
- Locate the URL you want to remove from your license and click Remove.
Local Installation Rules for Not Counting as Site Activation
You can purchase a single license key for a public site and also use it for a localhost or staging site, provided the test site URL matches one of the following patterns:
- localhost
- localhost.localdomain
- 10.0.0.0/8
- 172.16.0.0/12
- 192.168.0.0/16
- URLs ending with:
- .dev
- .local
- .test
- .lndo.site
- .ddev.site
- .localhost
- .ddev.site
- URLs starting with:
- dev.
- stage.
- staging.
- preprod.
- sandbox.
- test.
- local.
- Specific domains:
- .wpserveur.net
- .wpengine.com
- .wpenginepowered.com
- .wptiger.fr
- .myraidbox.de
- .lndo.site
- .go-vip.net
- .kinsta.cloud
- .elementor.cloud
- .cloudnet.cloud
- .wpcomstaging.com
- .mystagingwebsite.com (Pressable.com)
- .pantheonsite.io
- .hostinger.site
Any URLs matching these rules will not count toward your license’s site limit.