How to export and import content translations with XLIFF in Polylang Pro
🎯 Objective:
Learn how to export your WordPress content (Pages, Posts, Products, Custom Post types, ACF Pro) for translation and import the translated files back to your site using XLIFF and Polylang Pro.
| 💡 Looking for Strings Translations? To export/import translations for widgets, site title & tagline, theme & plugin options, or URL slugs, please refer to our dedicated guide: Import and Export Strings Translations. |
What you need:
- Polylang Pro.
- At least two languages are configured.
- A CAT tool (Computer-Assisted Translation tool): software that shows the original and translated content side by side from an XLIFF file.
What is XLIFF
XLIFF (XML Localization Interchange File Format) is a standard file format used in professional translation workflows. It acts as a bridge between WordPress, translation software, and the translators.
How XLIFF works
- You export your WordPress website content that needs translation as an XLIFF file.
- You or the translator opens the XLIFF file in a CAT tool, translates the text, and downloads a new file.
- You or the translator imports this new XLIFF file into WordPress to create the translated version of your site (thanks to Polylang Pro).
Important rules about XLIFF
- XLIFF exports only translatable content (no layout or code).
- XLIFF preserves structure, IDs, and language links, so the translated content is linked to your original language.
- There should be only one XLIFF file per target language and per site (used as a unique identifier).
- An XLIFF file can only be imported back into the site that generated it: you cannot export from Site A and import into Site B.
Exporting content from WordPress with XLIFF and Polylang Pro
Supported content types
Here’s the content you can export as XLIFF for professional translators:
- Posts
- Pages
- Products (WooCommerce)
- Custom post types
- Categories and taxonomies (when linked to exported content)
- Custom fields and metadata (including ACF fields)
How to export your content that needs translation
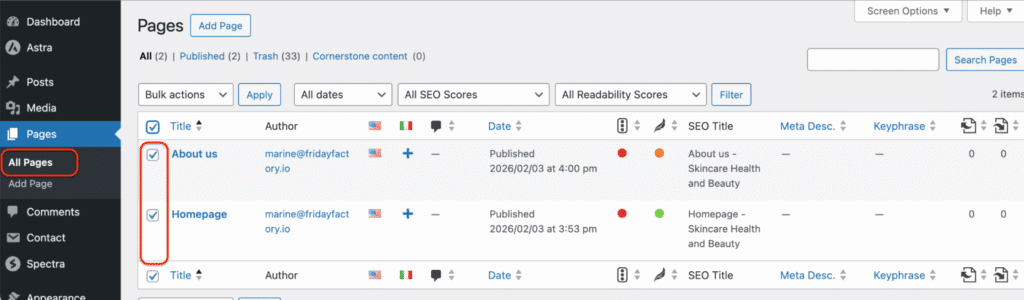
- Go to your WordPress dashboard > Pages > All pages.
- Select the pages that need translation.
- Open the Bulk actions dropdown menu, then click on Translate.
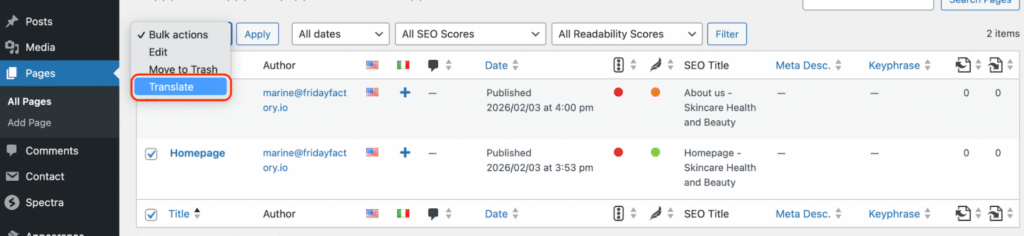
- Click on Apply.
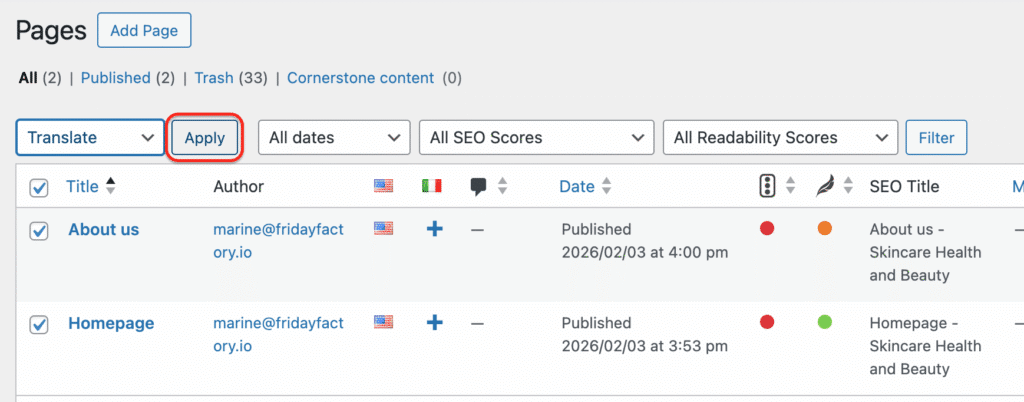
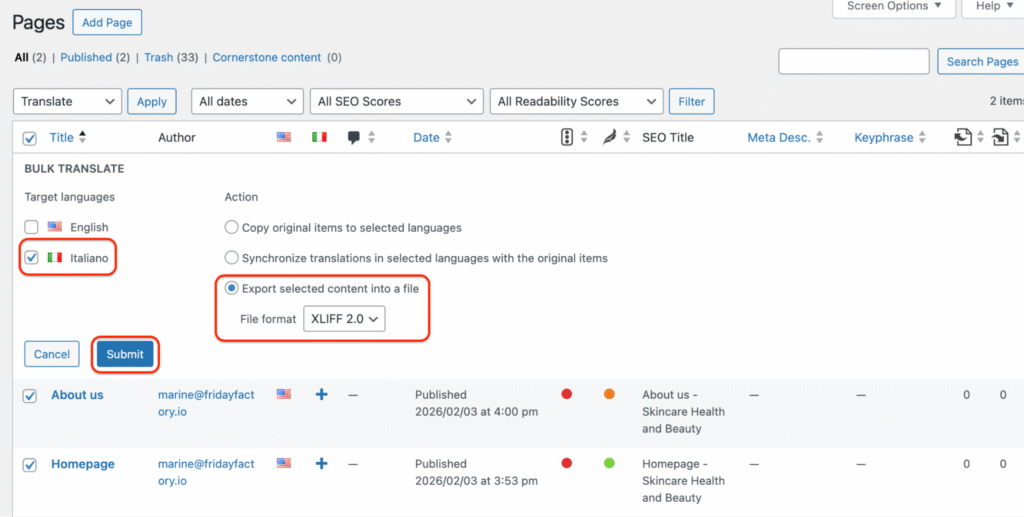
- From the BULK TRANSLATE screen:
- Select the target language (Italian in our case).
- Select the Export selected content into a file option and the XLIFF 2.0 file format, and hit the Submit button.
| 💡Hint: Some modern XLIFF versions (such as XLIFF 2.1) may not be supported by all CAT tools. Always check which XLIFF version your CAT tool supports before exporting your file. |
- The XLIFF file containing your English content is automatically downloaded from WordPress to your computer’s Downloads folder.

Translating the XLIFF file via CAT tools
| ⚠️ XLIFF files are not meant to be edited manually, like an Excel file, for example. They must be opened in CAT tools (Computer-Assisted Translation software) by the professional translator. |
- Upload the XLIFF file you just downloaded from WordPress to the translation software of your choice. We use the Matecat CAT tool.
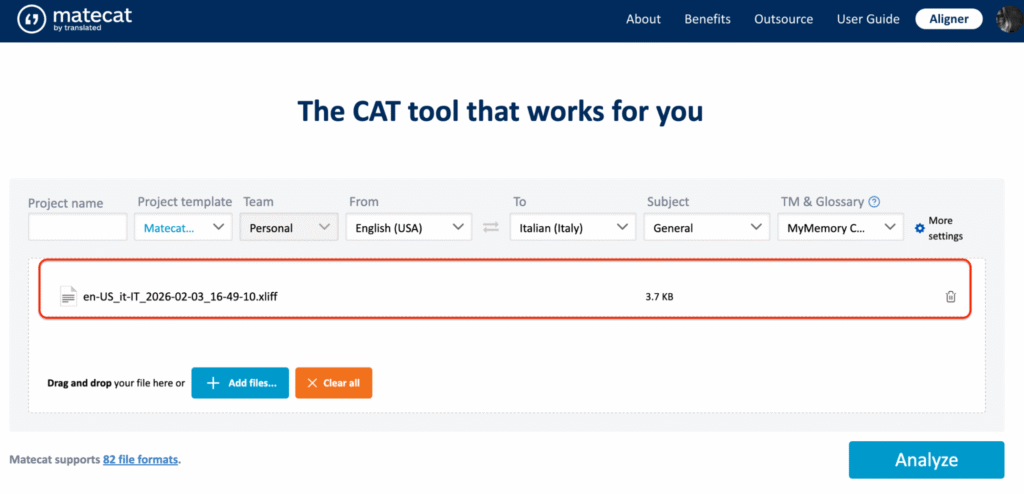
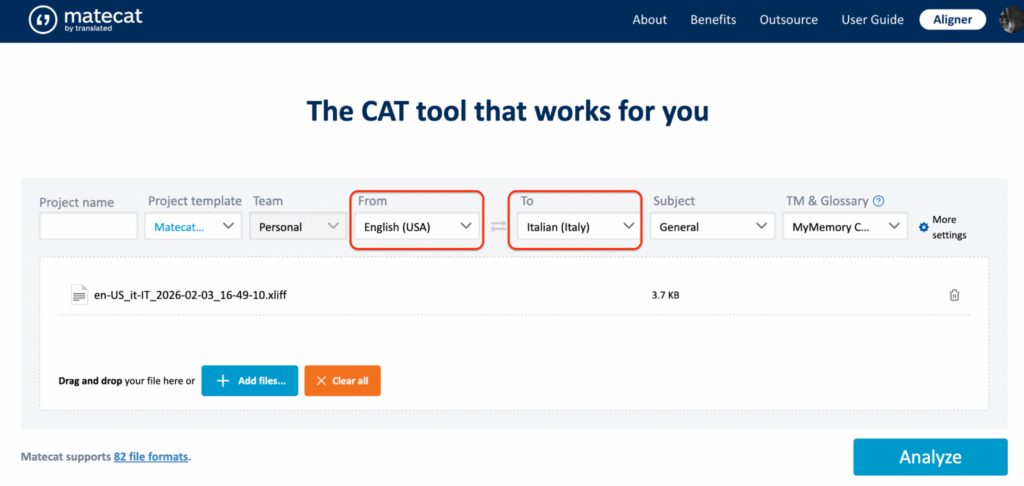
- Select the source (From) and target (To) languages. Our content was in English, and the translation will be in Italian.
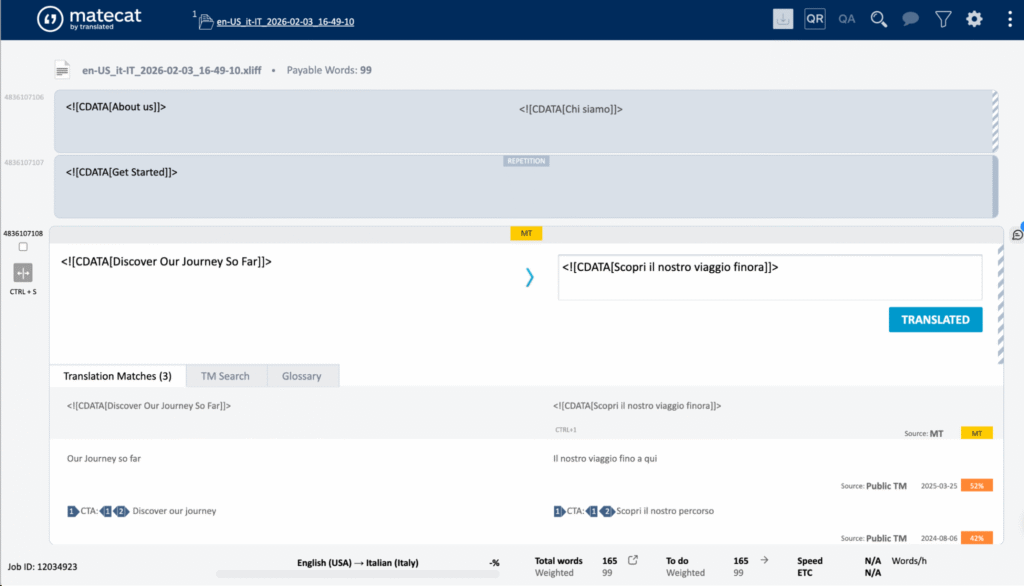
- Add the translation of each segment to the right-end column.
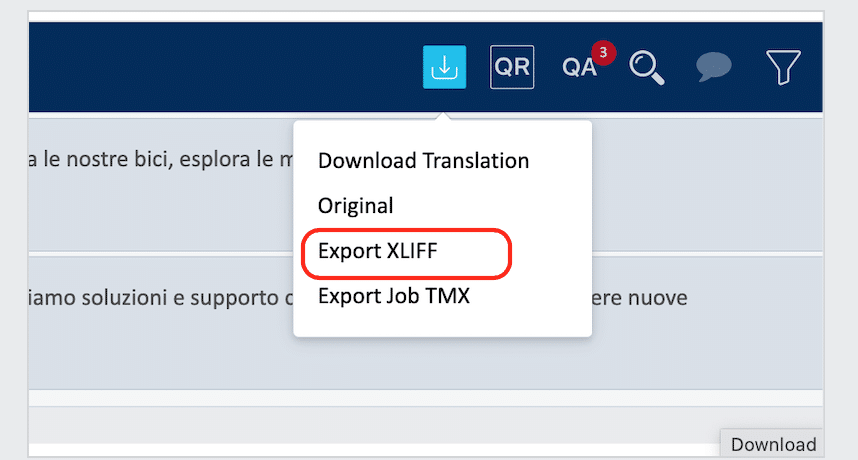
- Export all the translations as XLIFF by clicking on Export XLIFF.
Re-importing translated XLIFF files into WordPress
What happens during the WordPress import
When you upload your translated XLIFF file to WordPress, Polylang Pro detects the source language (English) and the target language (Italian) and automatically inserts translations into the correct fields. It also preserves the layout and design of your page.
How to import your translated content back to WordPress
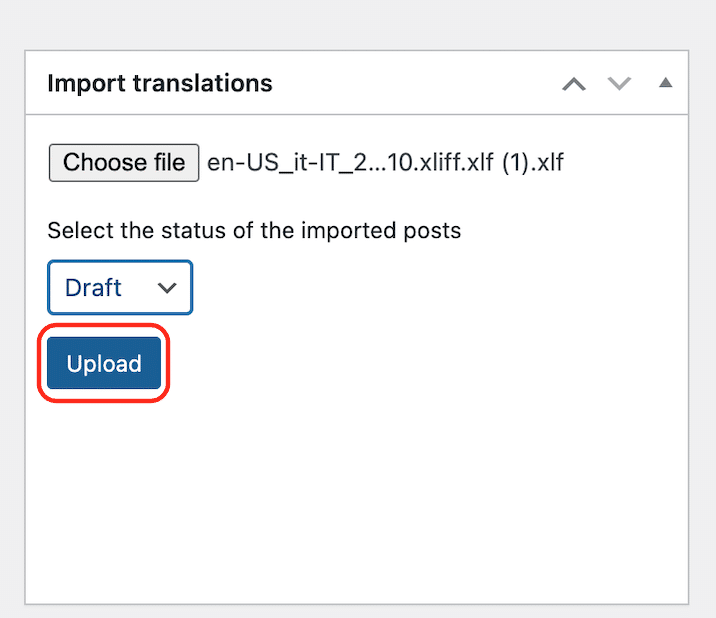
- Go to Languages > Translations > Import translations and choose the XLIFF file from your computer.
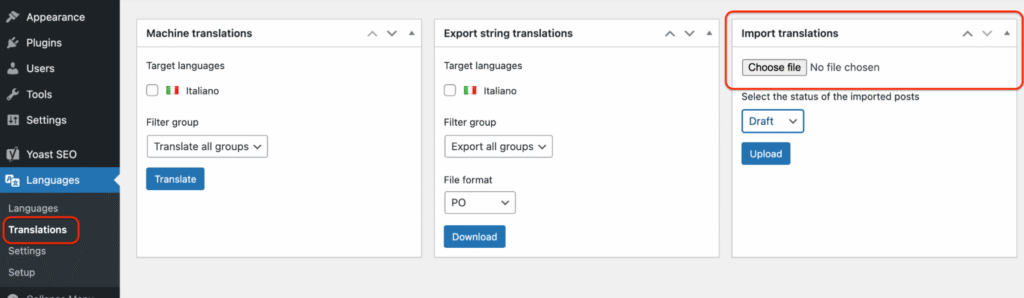
- Click on Upload.
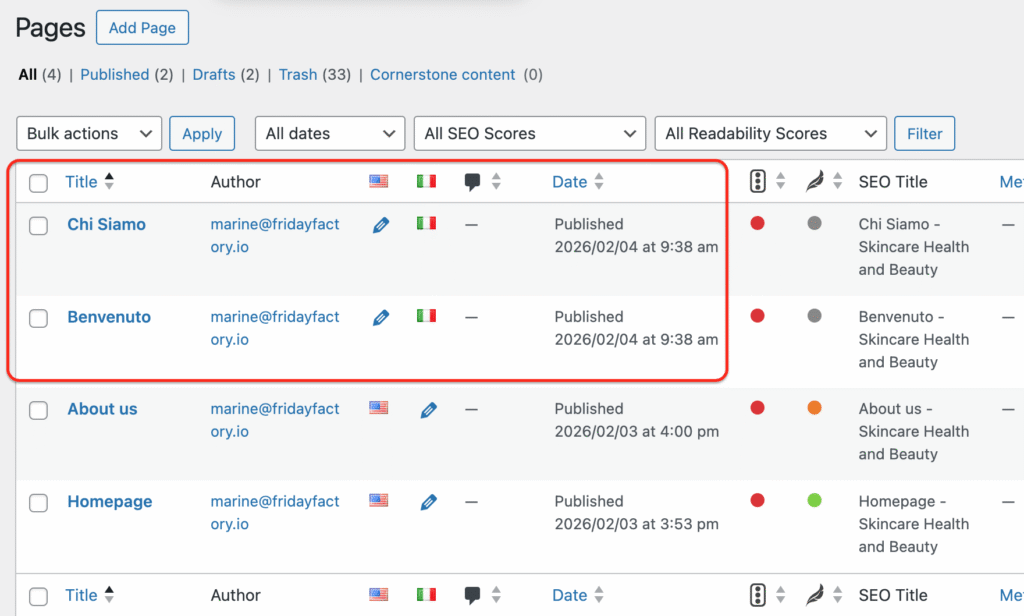
- Head to Pages to see the translated pages.
Taxonomy handling during XLIFF import
Polylang Pro automatically manages categories and taxonomies during import.
Case 1: The category is already translated (automatic linking)
You already have:
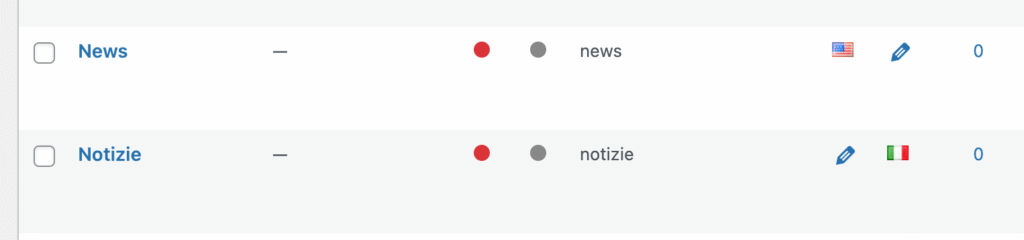
- English category: “News”
- Italian category: “Notizie”
Process:
- You export an article assigned to “News”.
- The translator simply confirms the category as “Notizie” on the CAT tools. No need to translate it, because the translation already exists.
Result on import:
- Polylang Pro recognizes “Notizie” as the translation of “News”.
- The Italian article is assigned to the “Notizie” category automatically.
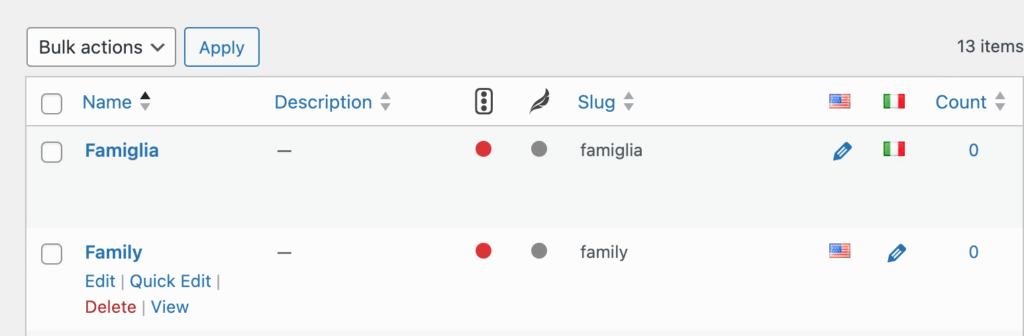
Case 2: The category does not exist yet (creation + linking)
Situation:
You have an English category “Family”.
The Italian category “Famiglia” does not exist yet.
Process:
- The translator translates “Family” as “Famiglia” on the CAT tool.
- You import the translated XLIFF file back to WordPress.
Result on import:
- Polylang Pro creates the category “Famiglia” and assigns it to the Italian language.
- It also links “Famiglia” to “Family” as its translation.
Custom fields and metadata handling on XLIFF (ACF Pro example)
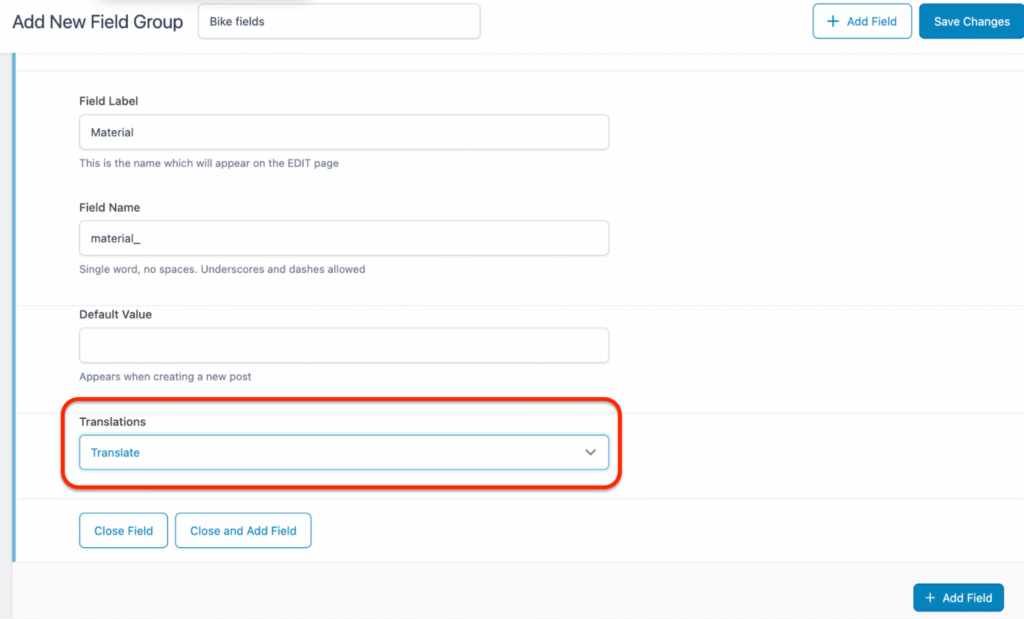
Required configuration
Custom fields must be configured as Translate in the ACF’s Translations field.
From your WordPress dashboard, go to ACF > Field Group > Translations > and set each field to Translate.
If you need more details, please check our dedicated ACF Pro documentation.
How custom fields are handled in XLIFF
When you export your WooCommerce products to an XLIFF file, their custom fields are also included.
Example: A product page “Bike for kids” with a custom field in English:
- Title: Bike for kids
- ACF field “Material”: Plastic
- ACF field “Level”: Beginner
What the translator sees in the XLIFF file from the CAT tool
Each custom field simply appears as a separate segment and can be translated easily:
- Bike for kids > Bicicletta per bambini
- Plastic > Plastica
- Beginner > Principiante
After import (Italian)
Polylang Pro creates the Italian version of the page and inserts each translation into the matching ACF field.
For example, the value “Plastic” is translated to “Plastica” and placed directly in the Material ACF field on the Italian page.
The structure of the content and all custom field data are fully preserved.
Common questions and limitations
Are themes, plugin options, or slugs supported?
Yes, but they are handled separately. These elements are not part of the “Bulk Actions” on the Pages or Posts screens. To export/import them, you must use the Export string Translations module located in Languages > Translations.
Can I export only categories or tags for translation and translate them all at once?
No. XLIFF export works only from content (Posts, Pages, Products, Custom Post Types).
Categories and taxonomy terms are exported automatically only when they are attached to the content you send for translation.
Can media or theme strings be exported?
No. Media and theme strings are not included in XLIFF exports.
Is XLIFF export compatible with Elementor or Divi?
No. This is due to the database structures chosen by these page builders.
What content is not supported by XLIFF export?
- Standalone taxonomy terms
- Elementor and Divi content
- Hard-coded strings
Do I need Polylang Pro to use XLIFF?
Yes. XLIFF import/export is a Polylang Pro feature only.