Setup wizard
Setup wizard launch
Polylang Pro
Polylang
Polylang for WooCommerce
When activating Polylang or Polylang Pro for the first time, the setup wizard is automatically launched with all the necessary steps to configure more easily a multilingual website.
You should follow each step one by one until you reach the “Ready!” step at the end of the setup wizard.
Some additional steps are added when activating Polylang for WooCommerce. For a full walk-through of these steps, please read Polylang for WooCommerce installation documentation.
Note that if you skip the setup wizard, you can run it at a later time by going to Languages > Setup or by clicking on the button which should still be visible on most admin pages.

The setup wizard notice will be dismissed automatically when you reach the setup wizard “Ready!” step.
You will have to go through these steps below:
Licenses step
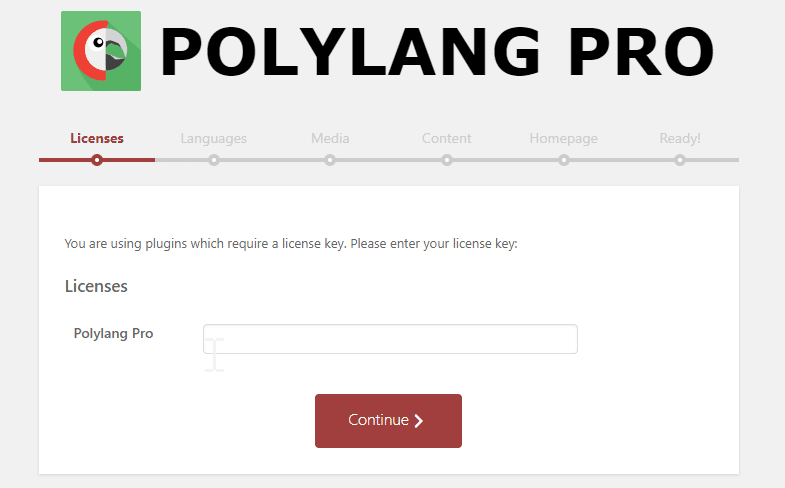
If you have launched the setup wizard from Polylang Pro, a new step is added at the beginning: Licenses step.
We recommend you fill-in your Polylang Pro license key in the corresponding field at this step to ensure you will be able to receive automatic updates.
Languages step
This step is surely one of the most important because without any language defined your multilingual website will not work correctly.
So you should define at least one language, choosing from a list of over 90 predefined languages.
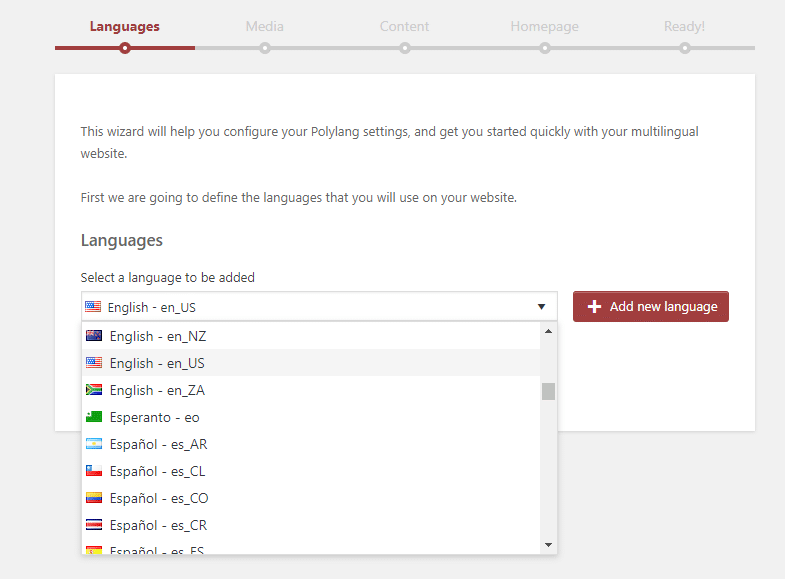
The first language you add becomes the default language of your multilingual website.
Before continuing to the next step you can of course add several other languages in the list by using the “Add new language” button.
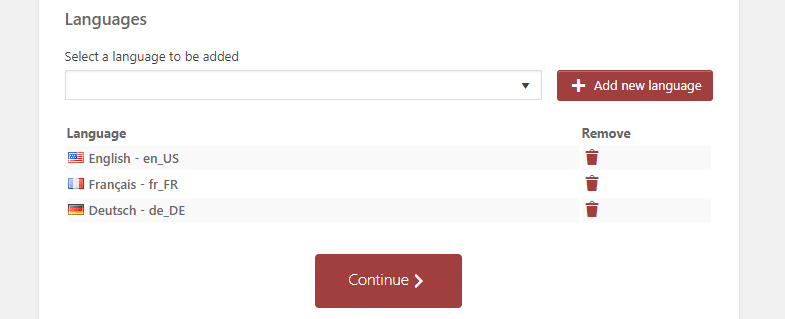
Note: the languages are really created when you click on the “Continue” button.
Media step
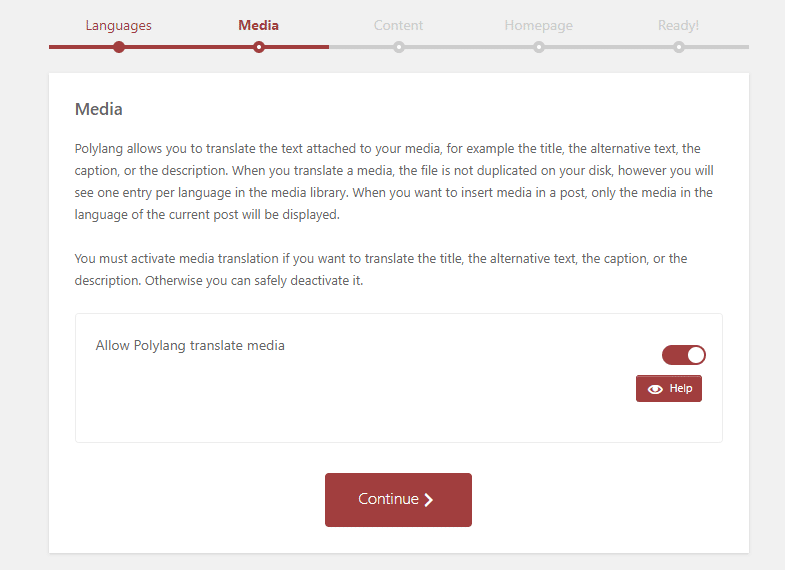
If you want to translate the media fields (title, alternative text, description…) you need to activate this option as shown below. This option is unchecked by default. You can read more info about it in our documentation.
Content step
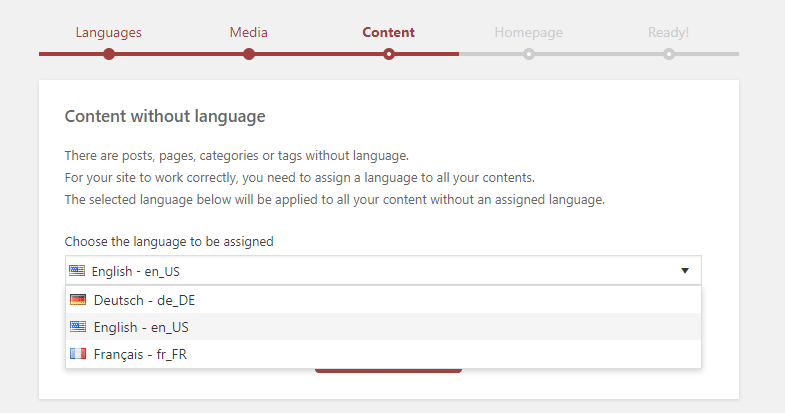
If you are installing and activating Polylang on an existing website, then all the existing contents have no language assigned yet. It is important that each content has a language otherwise your content is not displayed on the front end.
The default language will be assigned to all the existing content by default. However in this step you should be able to select another language that you added before at the languages step.
Homepage step
Polylang Pro
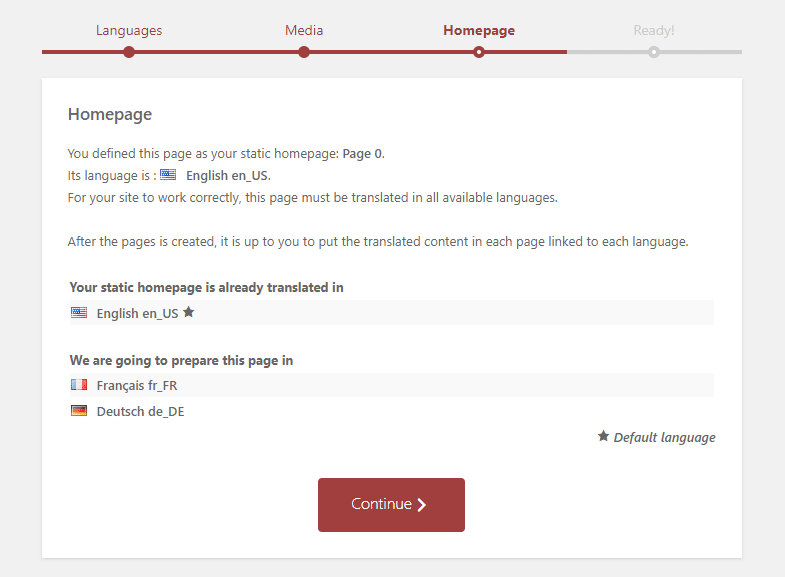
This step is only displayed when a static homepage has been defined in Settings > Reading. As it is recommended to translate it in all languages, this step will create new pages linked to your existing homepage in all your languages.
If you are using Polylang, these newly created pages will be empty. With Polylang Pro your existing homepage will be duplicated in your other languages (with the exact same content, title and excerpt, untranslated).
Ready step
Congratulations! You have reached the last step of the setup wizard and you have correctly configured all that is absolutely required to make your multingual website work correctly.
You are now ready to manage and translate your contents in each language you have defined.
However, to get your website ready, there are still two steps you need to perform manually: add menus in each language, and add a language switcher to allow your visitors to select their preferred language. That is why you will find a button to directly access to our documentation from the setup wizard.
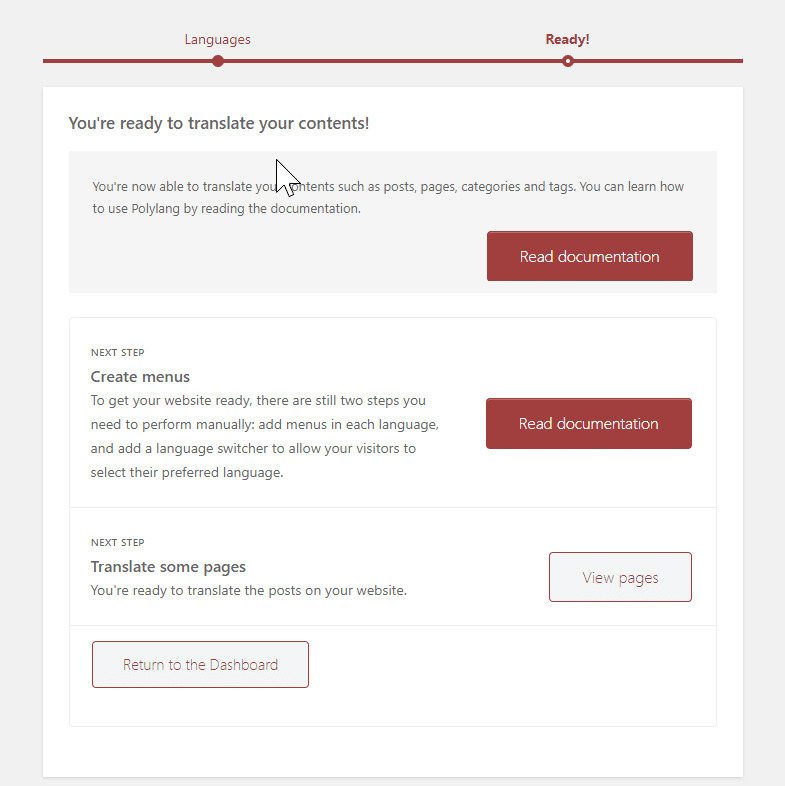
You can now quit the setup wizard by simply clicking the “Return to the Dashboard” button.