How to use my own flags for the language switcher?
Polylang
Polylang Pro
Yes!
Which file format can I use?
You can use:
- PNG
- JPG
- SVG
How should I name the files?
Name them with the WordPress locale. That is to say the value which you can find in the column “Locale” in the “Languages” menu => “Languages” sub-menu => Languages list table.
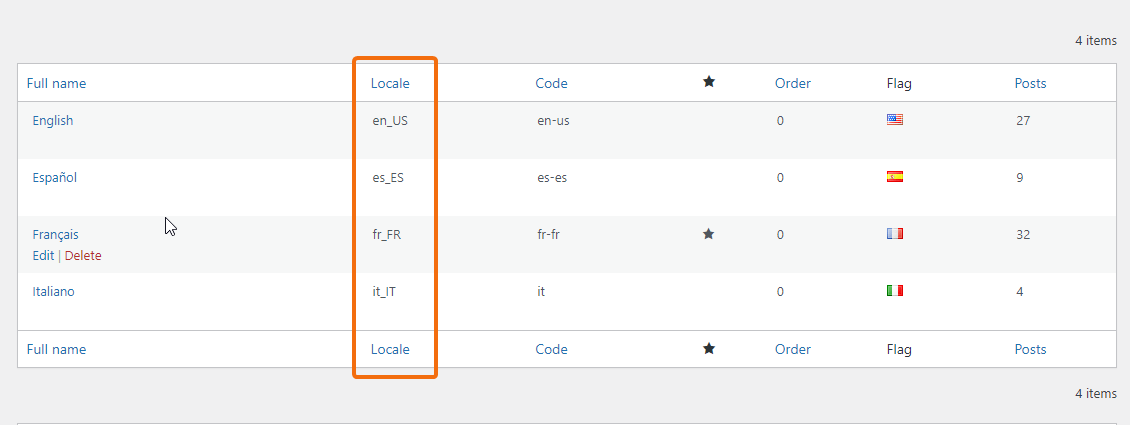
For example, if you would like to add your own USA flag you might name the file => en_US.png
Where should I upload the files?
Upload these files in the /wp-content/polylang/ directory.
Note: If the directory does not yet exist, you have to create it yourself. Do not use the /wp-content/plugins/polylang/flags/ directory as your files would be removed upon the next update of the plugin.
Alternatively, it is possible to store the files in the /polylang/ sub-directory, ideally, within the child theme directory tree (/wp-content/themes/my-child-theme/polylang/) or in the theme (/wp-content/themes/my-theme/polylang/).
/! If you chose to put it in the theme it might be overridden upon the next theme update.
I uploaded the files, what next?
| 💡 Once the custom flags are uploaded, go to the “Languages” menu => “Settings” sub-menu. Expend the “URL modifications” section by clicking on “Settings” and click on the “Save Changes” button. No need to make any changes, simply save the section again, it will refresh the rewriting rules in the background. |
What about the dimensions of my flags?
To specify the height and width of an SVG flag, you need to use the PHP filter pll_custom_flag.
Where will I see my flags?
Your flags will not be visible in the back-end of your site, they will only be displayed in the front-end. If you wish to see them in your wp-admin as well, you will need to use the PHP filter pll_flag.