Step 1: If WooCommerce is not already installed on your site, please install it and STOP the WooCommerce wizard. You will use it in step 5.
Step 2: Install Polylang or Polylang Pro
After you activated Polylang or Polylang Pro, STOP the Polylang setup wizard. You will use it in step 4.
Step 3: Install Polylang for WooCommerce
- Download polylang-wc.zip by following the link in your purchase receipt or from your account > Downloads tab.
- In your WordPress Dashboard, go to the plugins list table and click on “Add New”.
- Click on “Upload plugin” and select the polylang-wc.zip file that you previously downloaded.
- Activate Polylang for WooCommerce.
Step 4: After activating Polylang for WooCommerce you will automatically bе redirected tо the Polylang setup wizard thаt will take you through all necessary steps to set up your WooCommerce multilingual shop. These steps are:
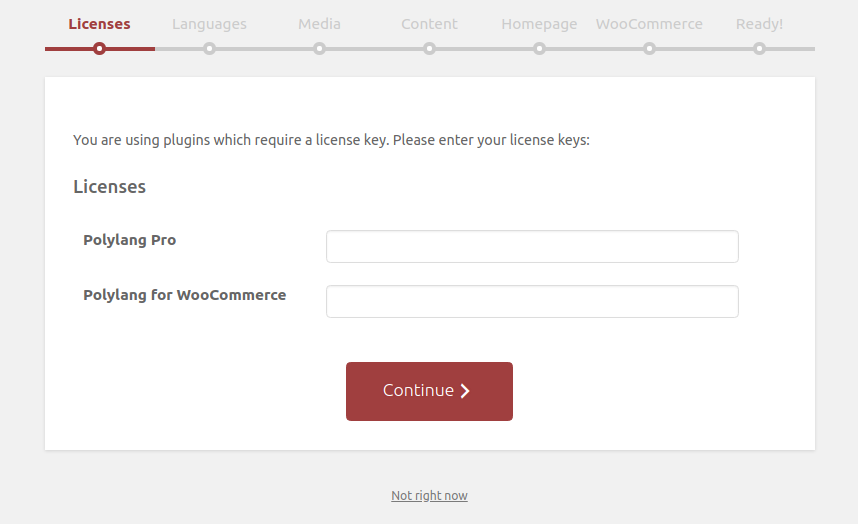
License keys
To receive automatic updates you need to fill your Polylang for WooCommerce license key. If you are using Polylang Pro, don’t forget to fill your Polylang Pro license key as well.

Languages, Media, Content and Homepage and Ready
These steps which are part of Polylang and Polylang Pro are detailed in the “Getting started” just here.

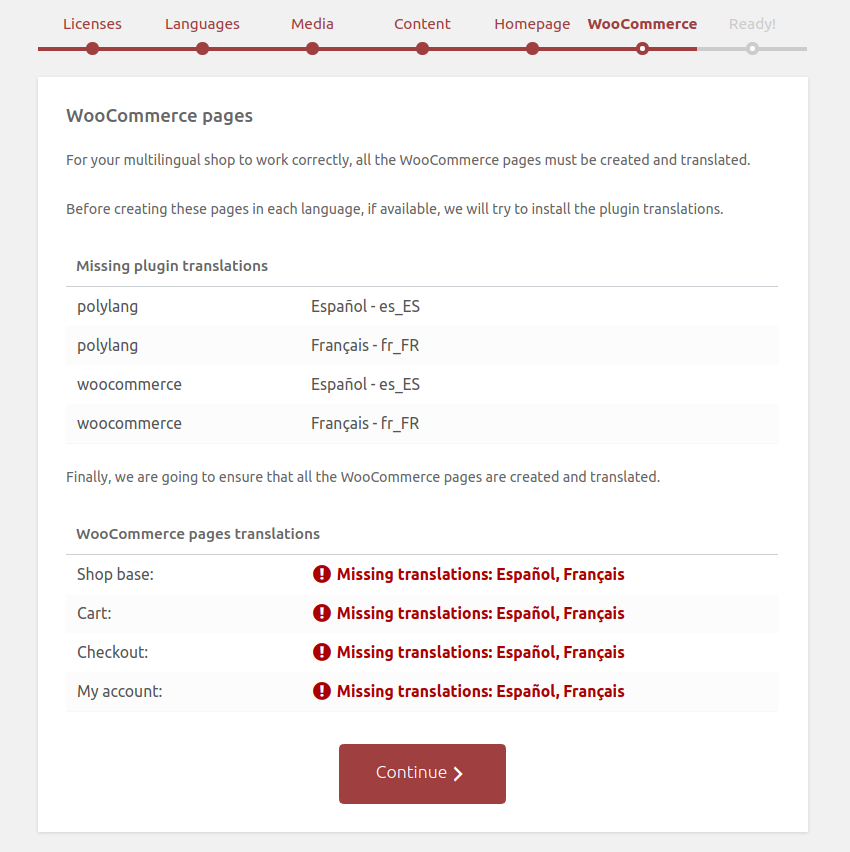
WooCommerce
This step warns you that your WooCommerce pages are not translated in your other languages yet. To translate them just click on the “Continue” button. It will automatically download the WooCommerce translations in all your languages (provided that they exist on the Translating WordPress website) and generate the missing page translations.

Step 5: If you are installing a fresh site, you can now run the WooCommerce setup wizard by clicking on the button which should still be visible on all admin pages.
 Polylang